Samsung’s new “A” series not only comes as a Bundled Budget variant. They focus on all corners, including designs. The screenshot will require in a lot of situations. So, It is necessary to learn how to do that. We can do this in a lot of ways. In some devices, it comes in a simple default Way. Google Pixel devices come with this option in Power Button. In OnePlus you can swipe with three fingers, and you will get what you need. In Samsung also, After the One UI OS, they added a lot of ways. Below we are going to discuss the Four methods to take screenshots. This method applies to all variants of these mobiles (A10s, A20s, A30s, and A50s) unless I differentiate them.
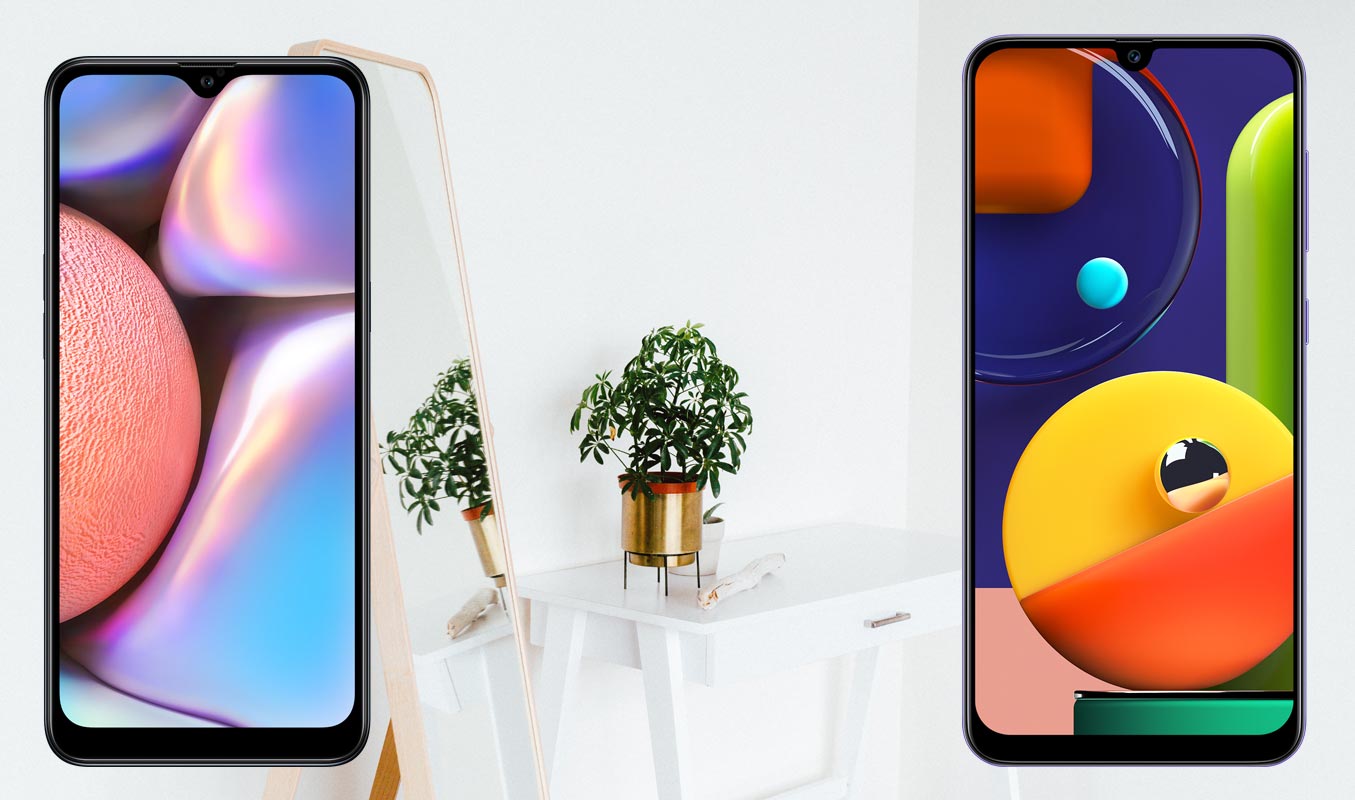
This mobile comes with One UI Pie 9.0 OS, So you can take screenshots using Palm swipe method. We also added some third-party apps to make this process easy. If you are a regular user, Palm swipe and Key combination method are enough; You Don’t need new apps.
Supporting versions
- SM-A107 All Variants
- SM-A207 All Variants
- SM-A307 All Variants
- SM-A507 All Variants
Take Screenshots in Samsung Galaxy A10s/A20s/A30s/A50s
Method 1: Using Physical Key combinations
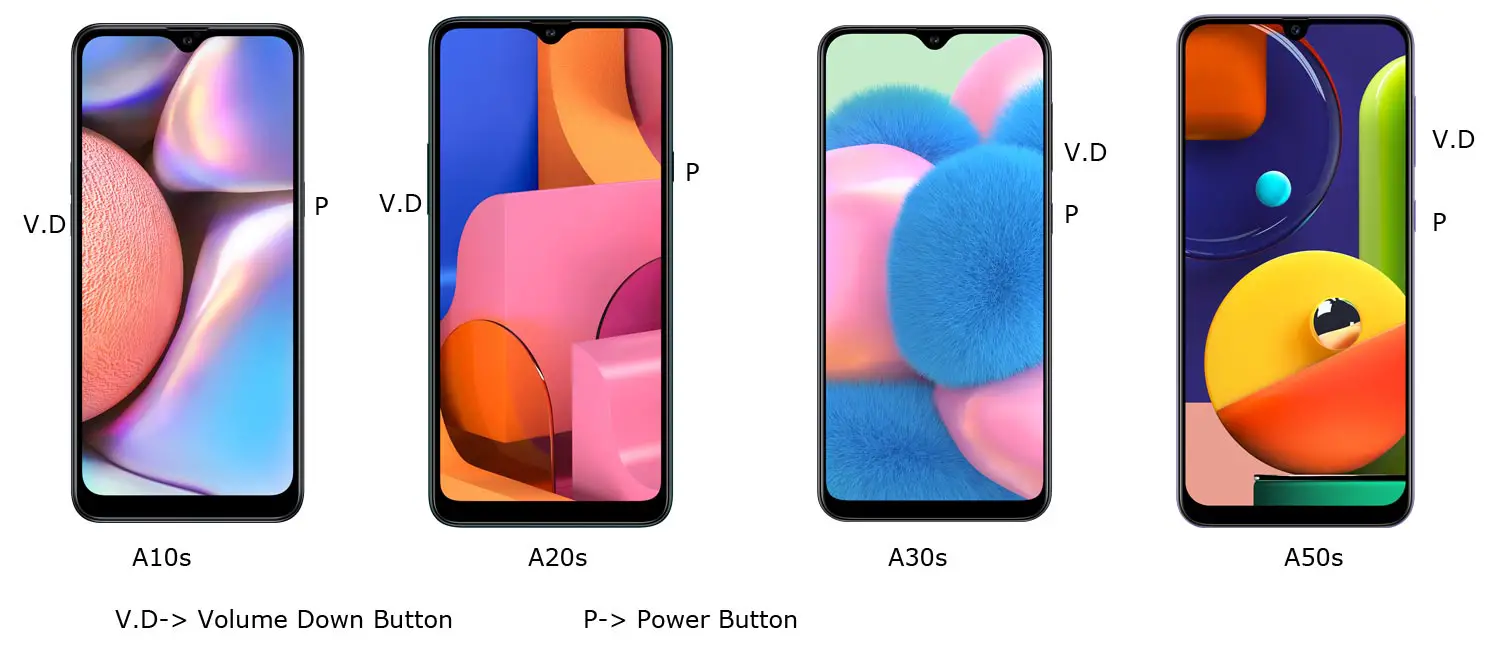
You can use your Volume Down+ Power Button to take screenshots. Use your Left hand to Hold Volume Down Button from back Right-hand and Finger to Power Button. If you Hold from the back, you can quickly Press the combinations.
You can find these photos in Gallery Screenshots Folder.
Method 2: Using Palm Swipe
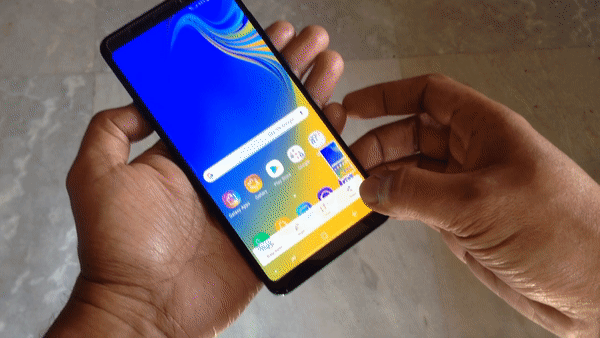
Samsung Galaxy One UI based series has unique features like palm swipe gestures. To Access this feature, Go to Settings >> Advanced features >> Palm Swipe to Capture >> Enable. After enabling this feature, swipe your palm from left to right above the sensor to capture screenshots.
Method 3: Ask Google Assistant
Instead of Bixby, Samsung allows users to use Google Assistant in the new “A” series. You should set up your Google Assistant before this process. You can do this by going to settings-> Voices Assist-> Google. Toggle the gear icon.
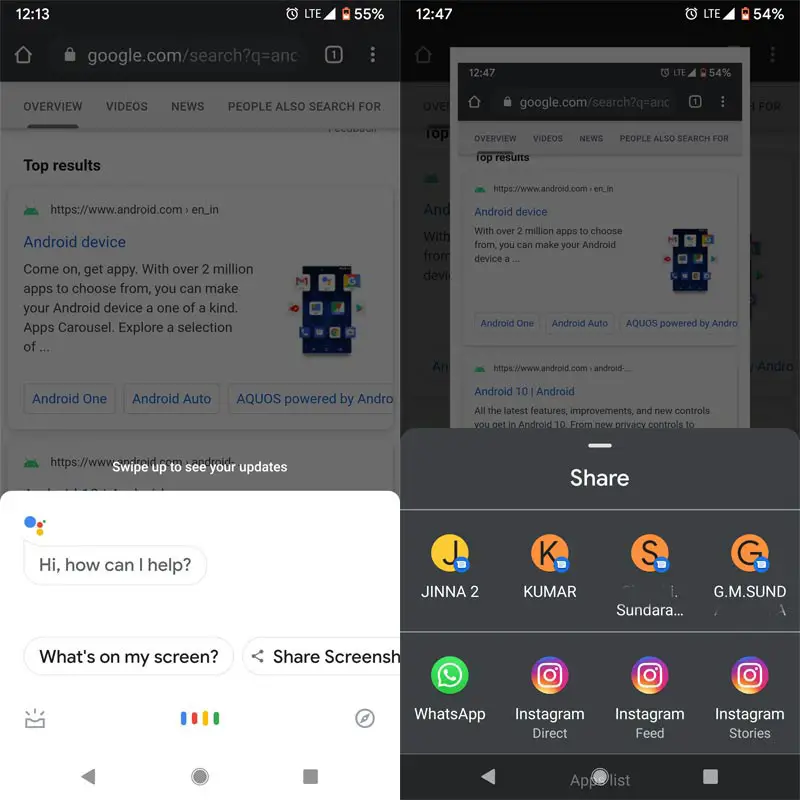
After the setup process, Wherever you want to take screenshot, long press Home Button and Ask Google Assistant to Take Screenshot. After it takes a screenshot, you can share and save them.
Method 4: Using Apps
Screenshot Easy App
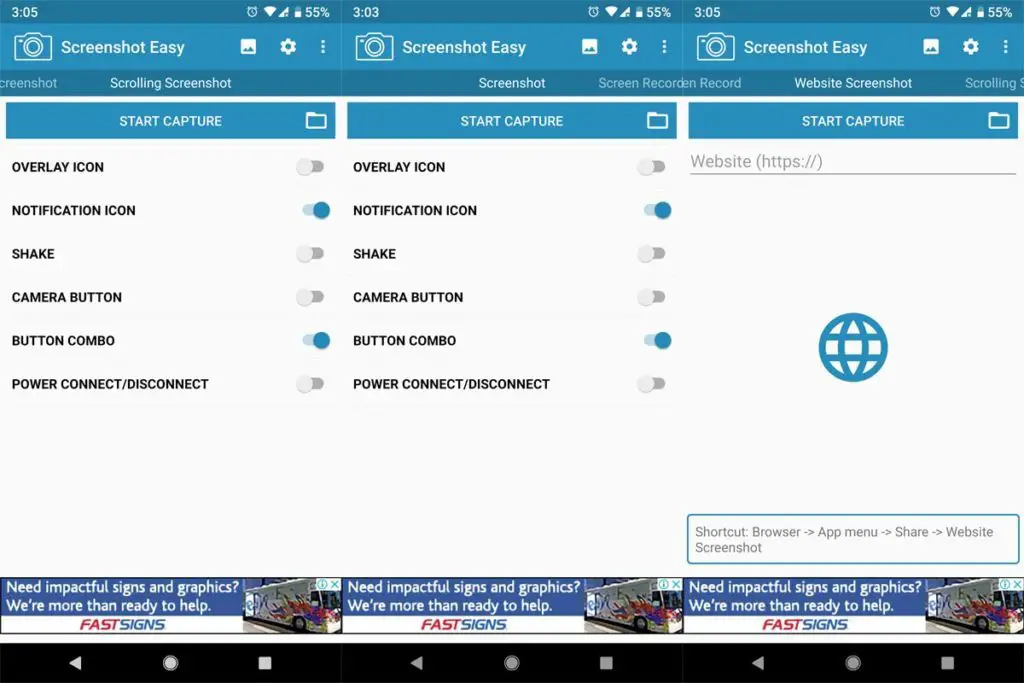
- Download Screenshot Easy App from Play Store.
- Beyond Just a Screenshot, you can do a lot of things like Screen Recorder, Entire Website Page Capture, and Scroll Capture.
- After you install this app, you can see this app in the Notification Bar. If you tap Capture, It will capture the current screen on your Mobile.
Screenshot Touch App
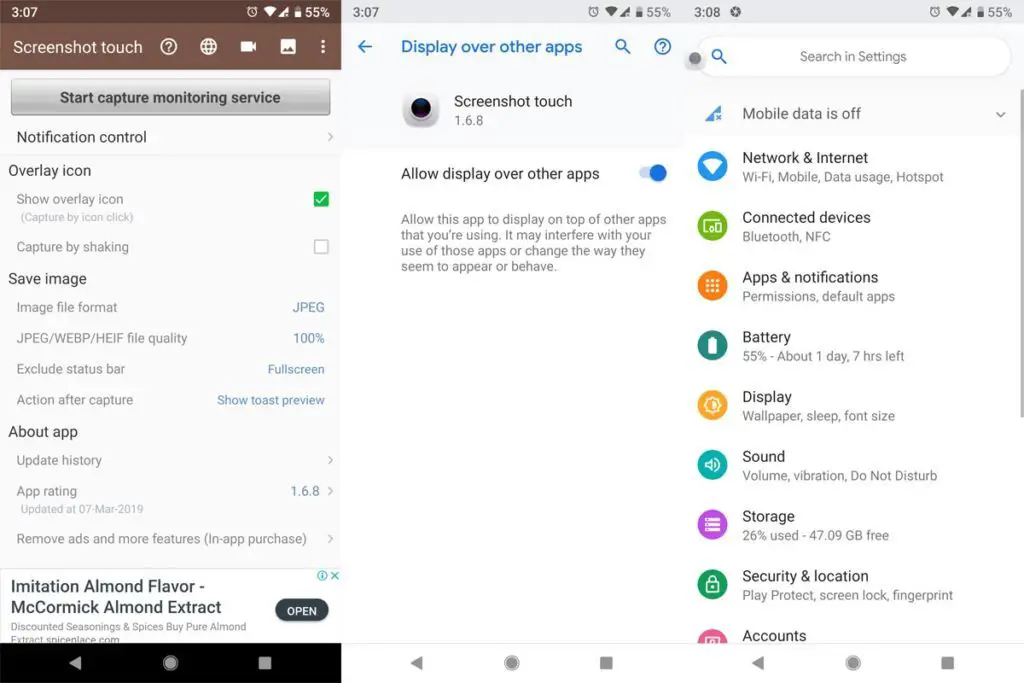
- Download Screenshot Touch App from Play Store.
- It is similar to the above app. But in my usage, It is easy to use, because of the Touch Assistive menu. When you tap that Logo, It will Pop-up with the option for capture.
Touch Master App
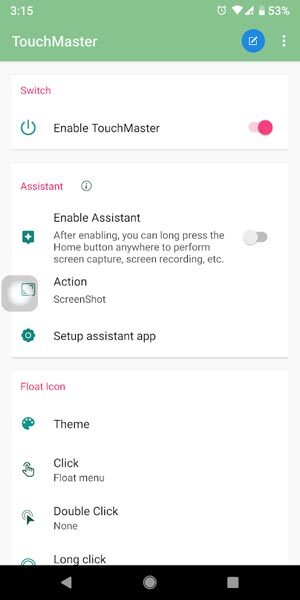
- Download TouchMaster (Assistive Touch) App from Play Store.
- There are a lot of Touch Assistants available, But they are loaded with some unwanted features. This app can make our work done with less storage.
Conclusion
If you are a regular user, I advise you to use Physical keys, because you will rarely use the Screenshot feature. Palm swipe may take accidental screenshots. But, If you are a Developer or some techie guy who use several screenshots, use In-Built Palm Gesture or Play Store Apps. If you install from third-party sites, Always check the Background activities to avoid your Data stolen. If you have other methods, comment below.

Selva Ganesh is the Chief Editor of this Blog. He is a Computer Science Engineer, An experienced Android Developer, Professional Blogger with 8+ years in the field. He completed courses about Google News Initiative. He runs Android Infotech which offers Problem Solving Articles around the globe.


Leave a Reply