There are plenty of PC solutions available in the market. But when it is come to regular customer-based devices, After Windows and Mac, Nowadays, Chromebooks are popular. It is easy to use, and the UI is simple. When you minimalize the UI and Features, Sometimes it may hide some additional options under settings. Taking a Screenshot is no piece of cake in some of the devices. But fortunately, due to users’ regular daily tasks, companies realized struggles and made it an easy access feature. In Chromebook, there are plenty of ways to take Screenshots. We are going to guide you through how you can take screenshots on Chrome OS-based Laptops. The methods are similar among all Chromebooks regardless of the Manufacturer.
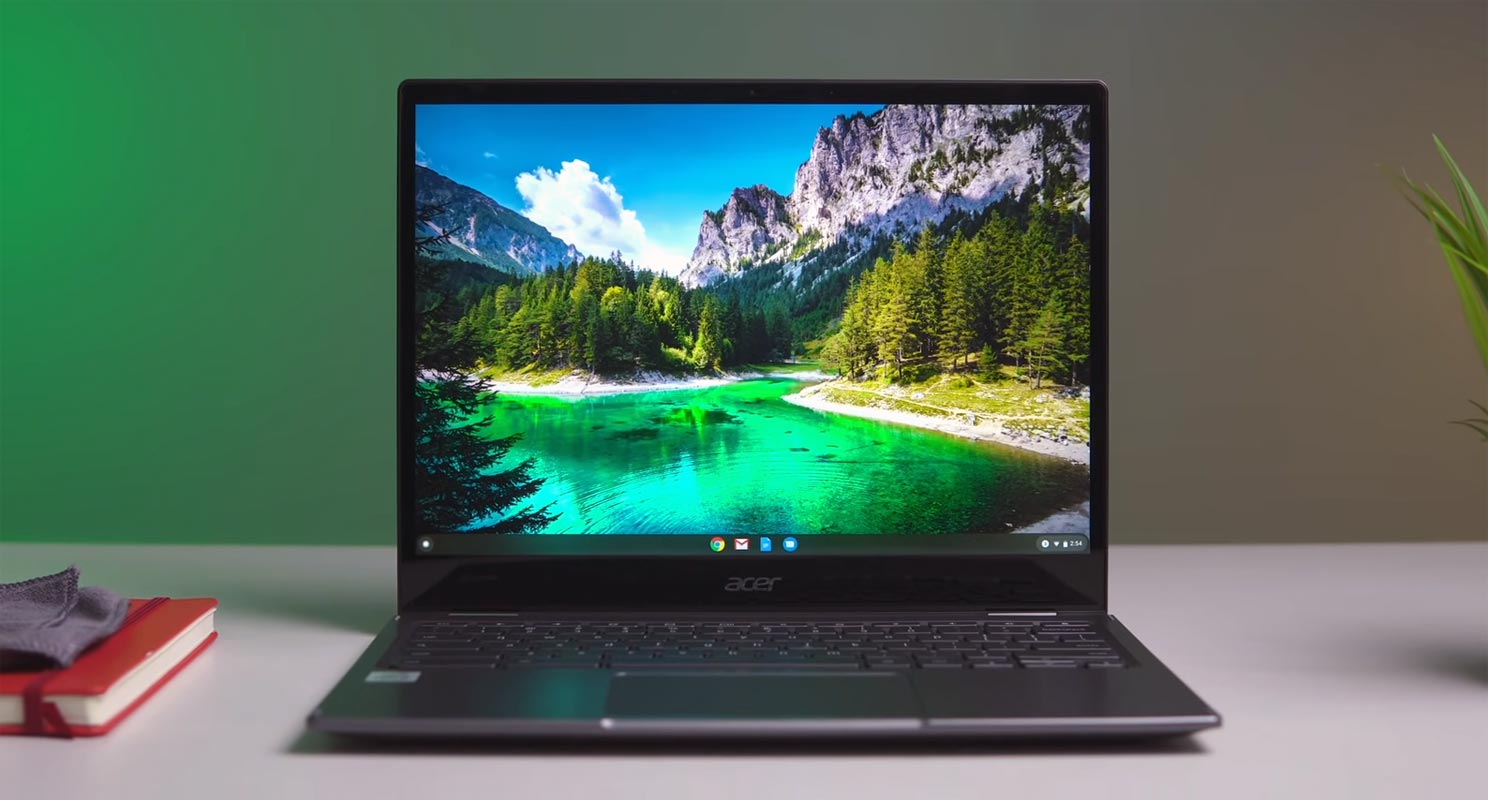
Chromebook
Chromebook is a laptop or tablet using the Chrome OS as its operating system made by Google. It uses Chrome OS because it is speedy, simple, and secures an operating system that powers every Chromebook. If you are using Mac or Windows as OS, don’t worry about that; you can easily switch to Chromebook simply by three steps. It will sync your Settings, Bookmarks, Form Fillers, and most of the important data. You can follow the below steps to sync the data.
What is Screenshot?
The screenshot is a technique used to take a picture of what you see on your screen. Since Chromebook using Chrome OS as its platform, it has the specialty that stores the Screenshot with the date and time when we captured them. A screenshot is also referred to as a screen capture or screengrab.
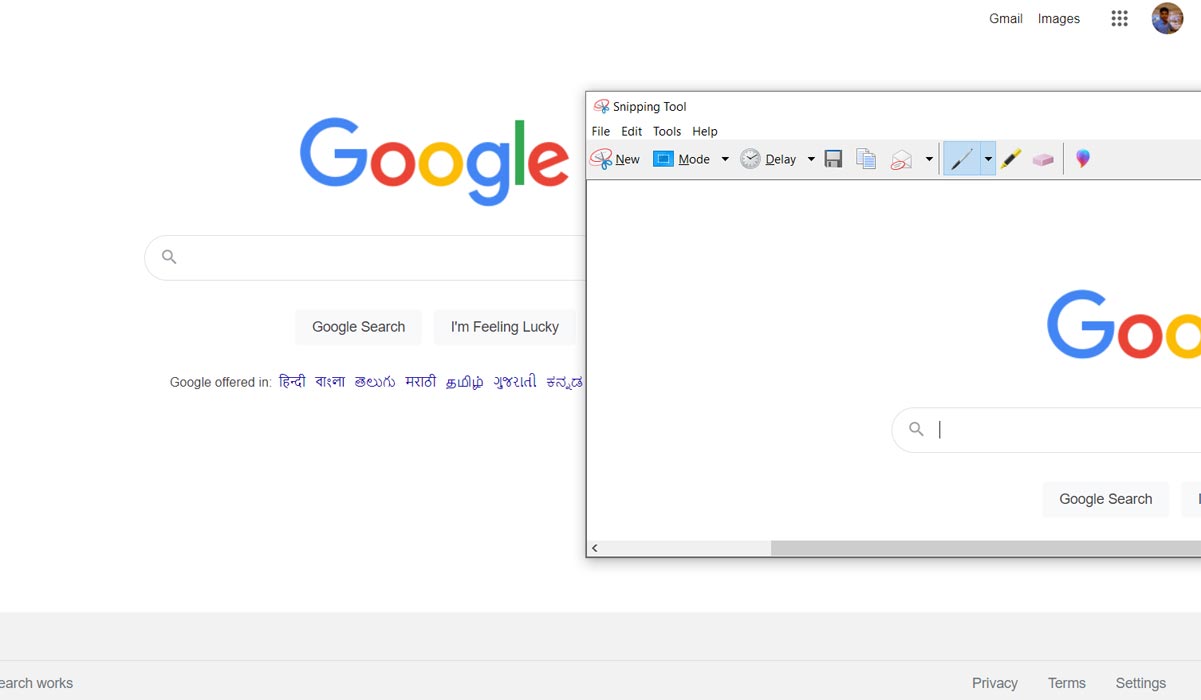
It is a digital image that shows the content displaying on a computer. Operating systems or software running on the device are used to create the screenshot. Capturing the screenshot and you can save to your devices will be more useful. The screenshot that we took can be saved as a Graphics file.
Why Do You Need A Screenshot?
A screenshot can be useful for a variety of reasons. For making Tutorials or capturing an image from a video, you can share your experience with friends about what your game looks like. Also, messages are suspected to be deleted in a few minutes. Three ways screenshots can help people get more work done are collaborating with others, demonstrating how to perform a function, and showing what is happening on the computer.

The Chromebook screenshot is somewhat difficult because it is coming from another platform. Another reason is that their keyboards are different from Macs and Windows. Most probably screenshot is used to capture funny posts, comments or messages.
If you face any issues with your device, you can take a screenshot and resolve it by sending it to your friends. While you face poor connectivity in your device, you easily take a screenshot of your error message and send it to your service providers. It improves your Time Management and Communication. It reduces time consumption. If you found new products in the online market, you can easily share your taken screenshot with lovable ones.
Ways to Take Screenshot in Chromebook
Chromebook screenshot is something different because of the platform. The combination of keys differs from PC keyboard and Chromebook buttons. If you are aware of the basic key combination, it is easy to go. Chromebook screenshot having two different ways, that is Entire Screen and Partial screen. We can see step to step, to take screenshots in both ways.
Entire Screenshot
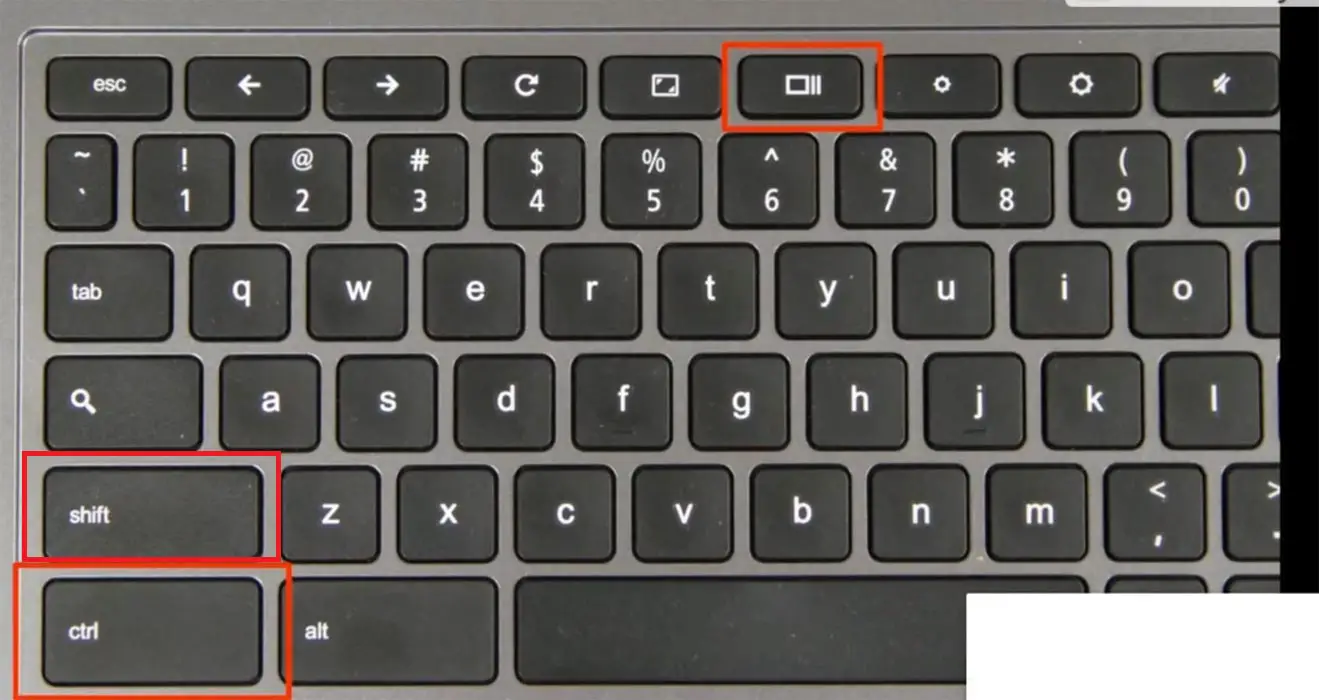
To take a screenshot of the entire screen, the key combinations are Ctrl+Shift+ Show Window. The show window looks rectangular with two lines; it is on the top row of the keyboard(this key is equivalent to the F5 key in PC keyboard)
Partial Screenshot
To take a portion of a screen as a screenshot, the combination keys are Shift+Ctrl +Show window keys. The crosshair icon can notice you; click that and drag until the part of the screen you want to take a screenshot of and let go. Once you have done this, a notification appears in the bottom-right corner.
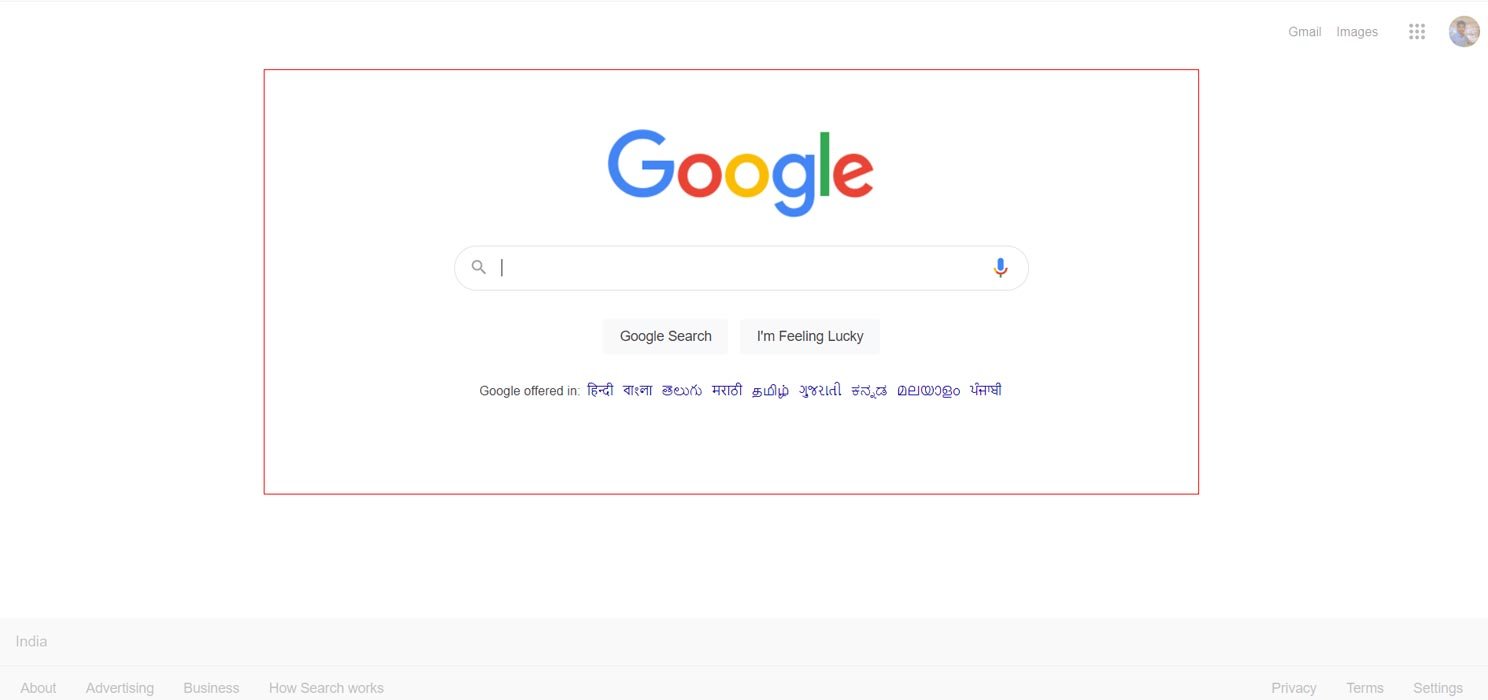
It looks like the thumbnail of your screenshot. By clicking that thumbnail, you will be redirected to the downloads folder. The download folder is the default place where the screenshot is going to be saved.
It will save a taken screenshot on your devices only; you can manually upload them into the cloud using Google drive. Below are the manual steps to be followed
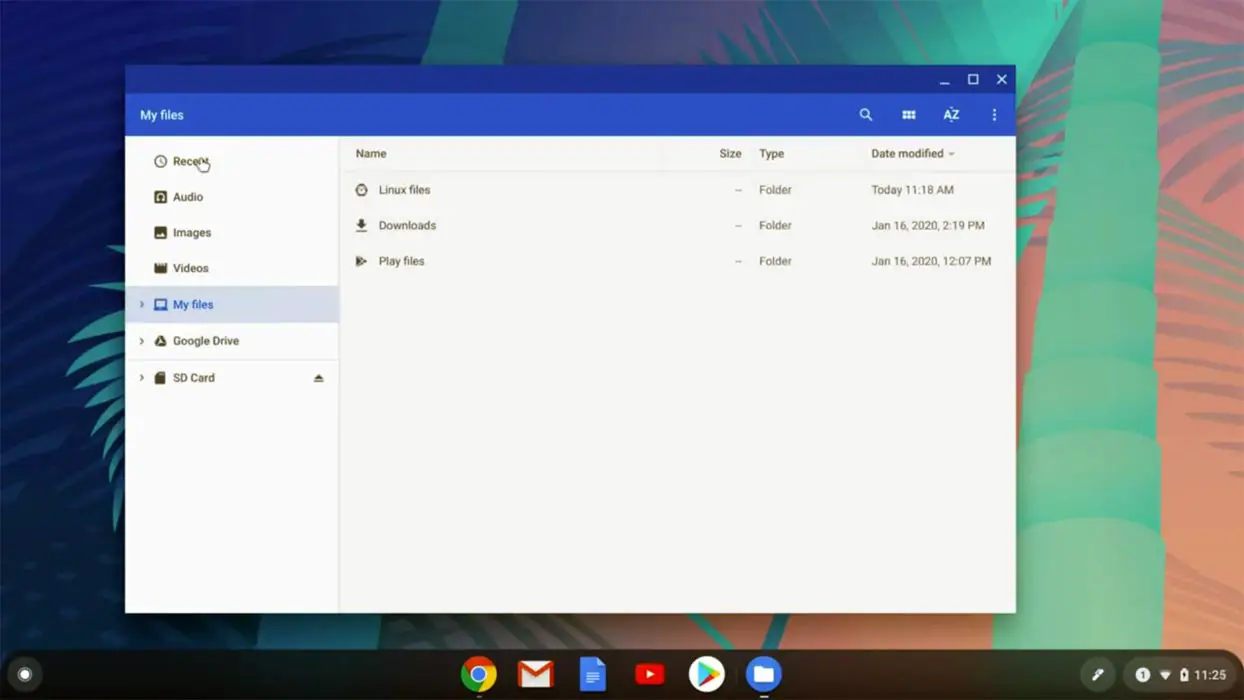
- In the files app, select images or downloads listed on the left of your screen.
- There, you will find the screenshot you have taken; select the screenshot you want to upload. If you need more than one screenshot, click the check icon on each screenshot (thumbnail view or draw a box around the files using a mouse).
- At the top-right corner, you will have the share button; click on that.
- Select save to drive on the drop-down menu displaying on the screen. Now you can send the screenshot to your other accounts like one drive and Dropbox.
Screenshot with Chromebook buttons
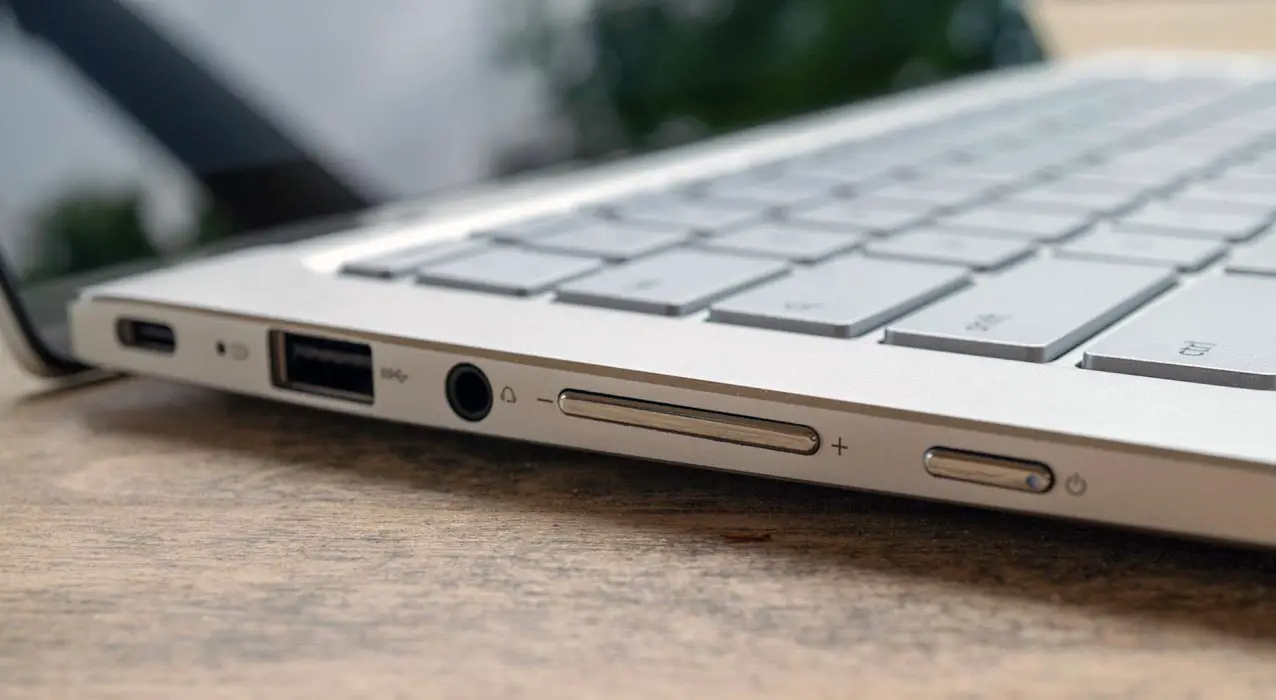
- We can use the Power+Volume Down key combination to take the entire screen while using it in tablet mode.
- Use Ctrl+Overview to take an entire screen using device buttons in the device. (an overview is on the right image above on your Chrome Laptop buttons).
Screenshot with new Screen Capture toolbars on Chromebook
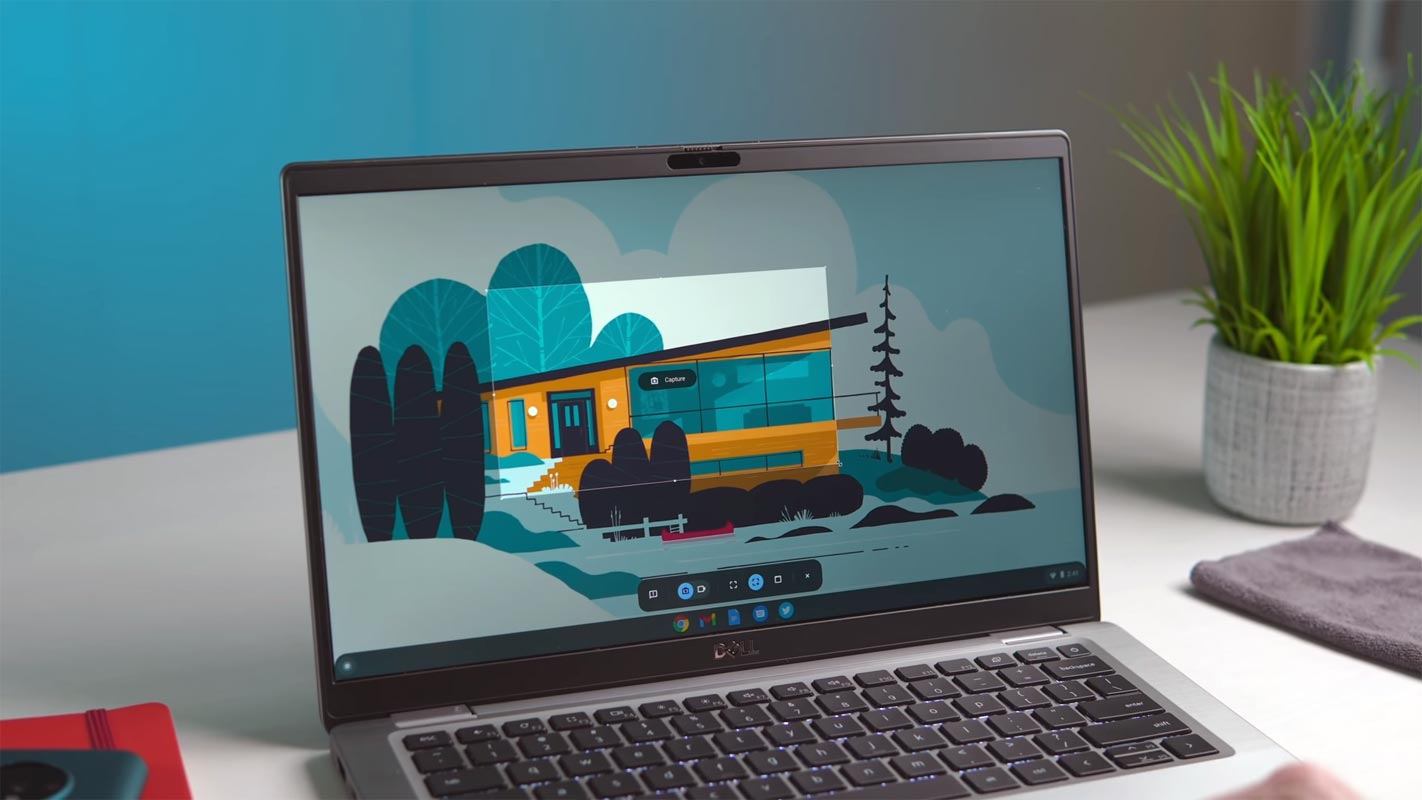
- Click the time icon in the bottom right corner of your screen.
- In that, you will be having screen capture in quick settings.
- To take a screen recording rather than a screenshot, click on the camera toggle, which is on the left-hand side of the screen.
- To toggle it on, tap on the recording microphone.
- For full-screen capture, click on the plain rectangle, which is next to the camera toggle.
- To Capture, click anywhere on your screen.
- For partial screen capture, click on the rectangle with the plus symbol in the center of the bar.
- Pull a rectangle around the portion of the screen you want to capture.
- Select on Capture.
Wrap Up
Taking screenshots has become a daily usage task for everybody. So, It is the OS developer’s job to make it easy and with additional edit options. Most of the Chromebook users are from Educational institutions. So, They always use Screen share and Capture functions. Adding new ways will enhance access. You can also use third-party apps like Screencastify in Chrome Webstore. Since Chromebook can support Android apps, some compatible apps can also work with screen recording and capturing. We hope the methods will help you to do your task. When you find other methods, you can share them in the comments below.

Selva Ganesh is the Chief Editor of this Blog. He is a Computer Science Engineer, An experienced Android Developer, Professional Blogger with 8+ years in the field. He completed courses about Google News Initiative. He runs Android Infotech which offers Problem Solving Articles around the globe.


Leave a Reply