Compare with Windows PCs; all other OS-based devices are not that much popular among regular people. It happens due to the manufacturers focus only on Windows PCs, and Apple can only produce Macs. But after Google Chromebooks are slowly adapt by educational-based Institutions, Chromebooks are mass-producing by Manufacturers. After most tech companies’ employees prefer Work From Home and Educational Institutions begin to provide Online Classes, the need for Chromebooks becomes high. Compare with other OS migration; the Chromebook switch is easy and simple. Here, we will guide you on switching your data from Windows to Google Chromebooks using Drive, USB, and File Sharing.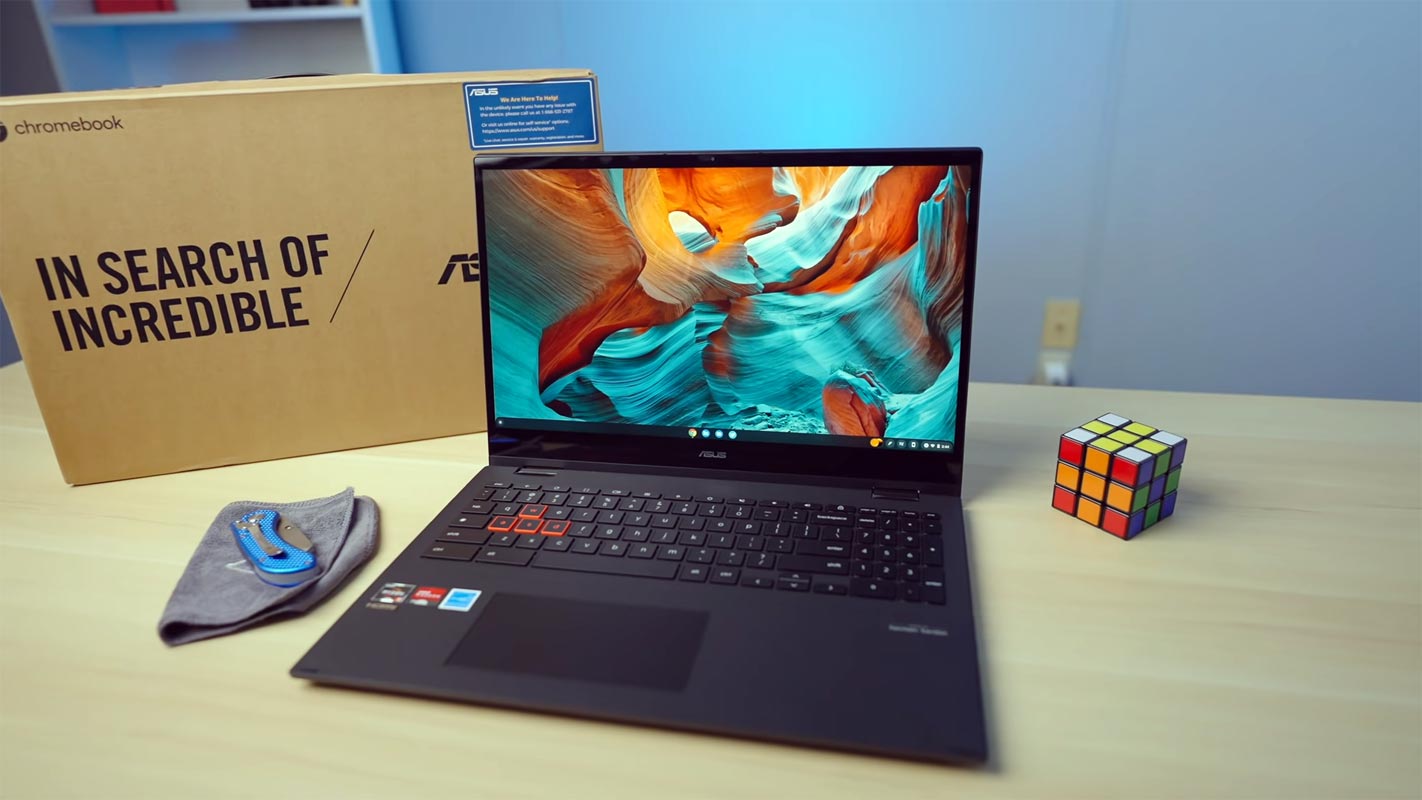
We all change computers from time to time; either you’re changing from Windows to macOS (MacBook) or Windows to Chromebook. However, changing computers is not the problem; getting your files across the systems is the major problem.
If you bought a new Windows PC, you could transfer your files using a file copy program, but this is not the same with Chromebooks. When you buy a new Chromebook system and want to transfer the files from your old Windows PC, the process to follow is a little bit complicated.
Notwithstanding, this article provides detailed steps to get all your important files from a PC to a Chromebook.
How to Switch Files From Windows PC to Chromebook?
There are pretty many ways to do this; if the files you want to transfer are not much, you could get a thumb drive, copy them to the external thumb drive, then connect the drive to your Chromebook and transfer the files.
Trying to transfer files from PC to Chromebook using the USB C ports won’t actually work. That said, below are the possible ways to get your files across without losing any of them.
1. Using Google Chrome and Google Drive
Actually, this is one of the simplest methods to get your files across, but it requires having active and strong internet connectivity. It is not advisable to use a mobile network for this method. Otherwise, you’d use up your data limit while the transfer is yet running. So, switch to a WiFi network and follow the steps below.
First Step:
Install Google Chrome on the Windows computer; if you’re already using Chrome, launch the browser and continue with the steps below.
Second Step:
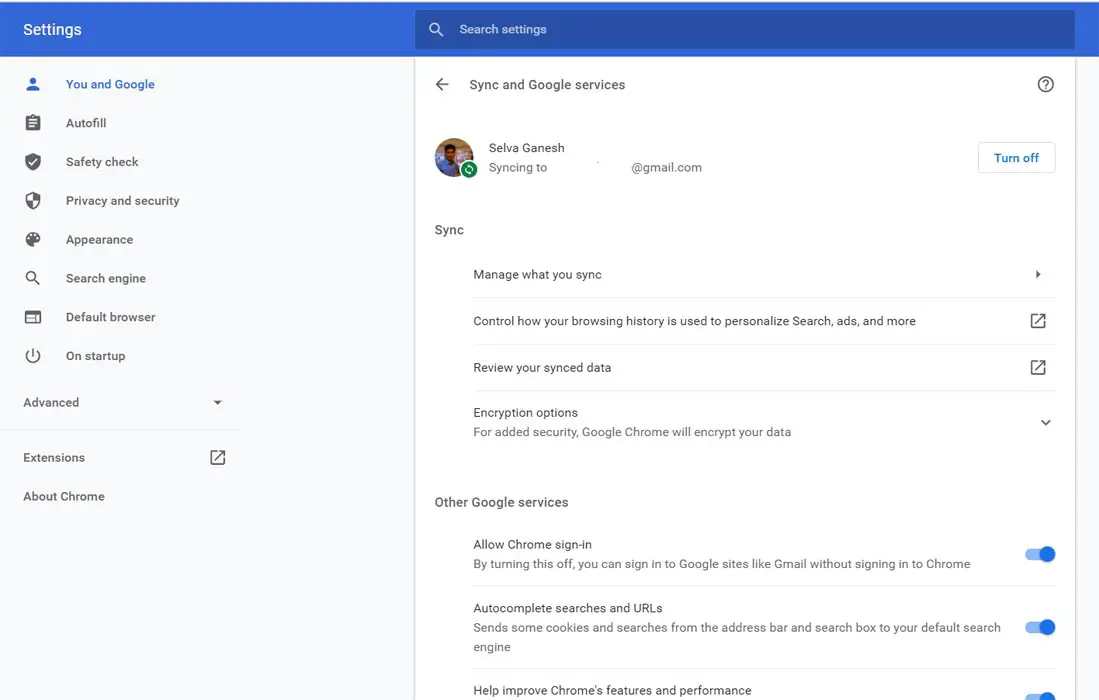
With the Chrome browser installed on your Windows PC, you need to sign in to your Google account. This is important if you want to get everything to the new PC. When you have signed in to your Google account on the Chrome browser, ensure to activate the “Backup and synchronization” feature. Activating this feature automatically saves your browsing history, bookmarks, speed dials, passwords, and other relevant data.
Third Step:
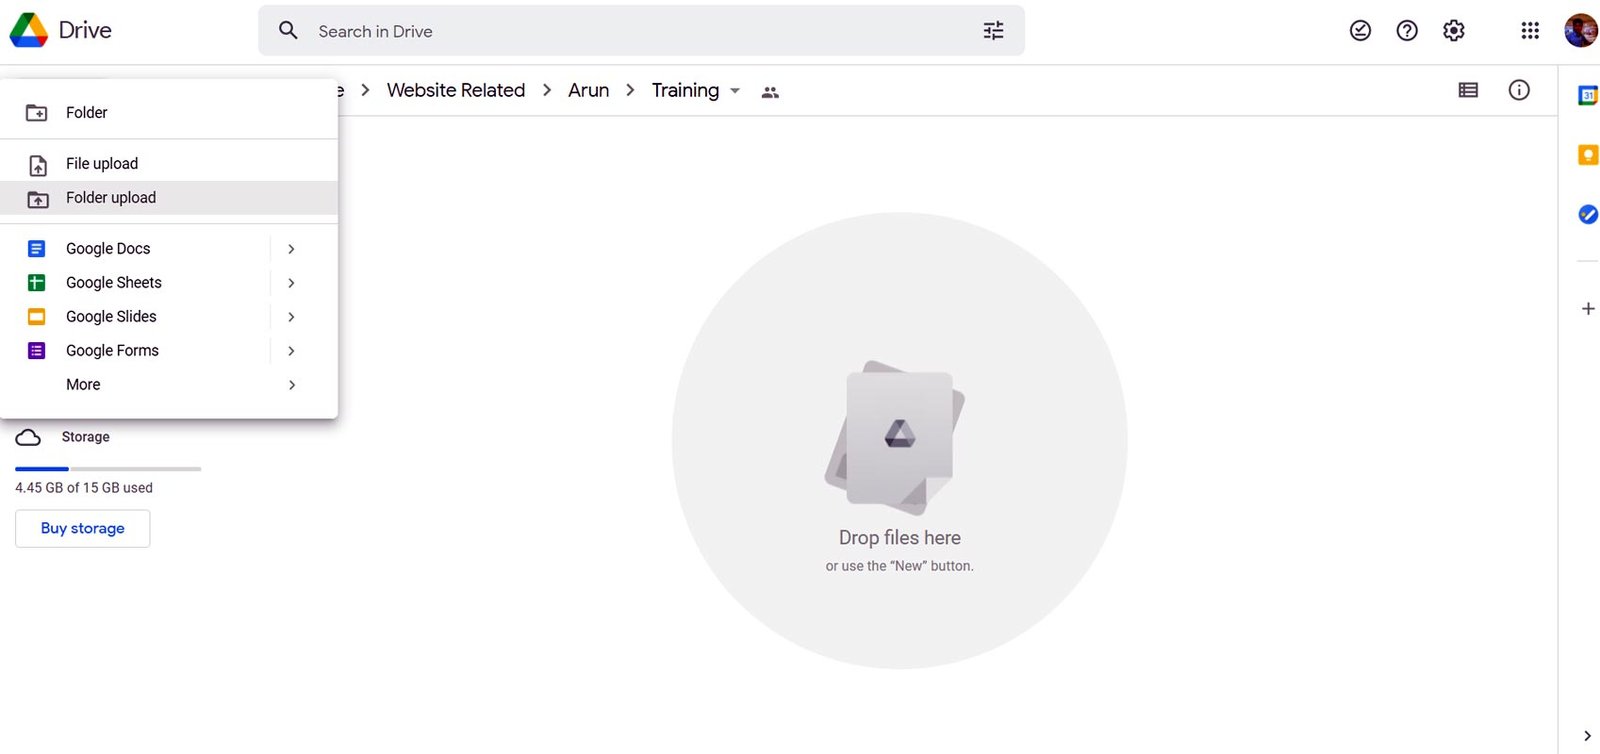
Open Google Drive on the Chrome browser. To open Google Drive, visit https://drive.google.com/ When the main interface loads, use the big “upload” button to upload all the files you want to transfer to the Chromebook. You can also create folders to arrange the files accordingly.
Fourth Step:
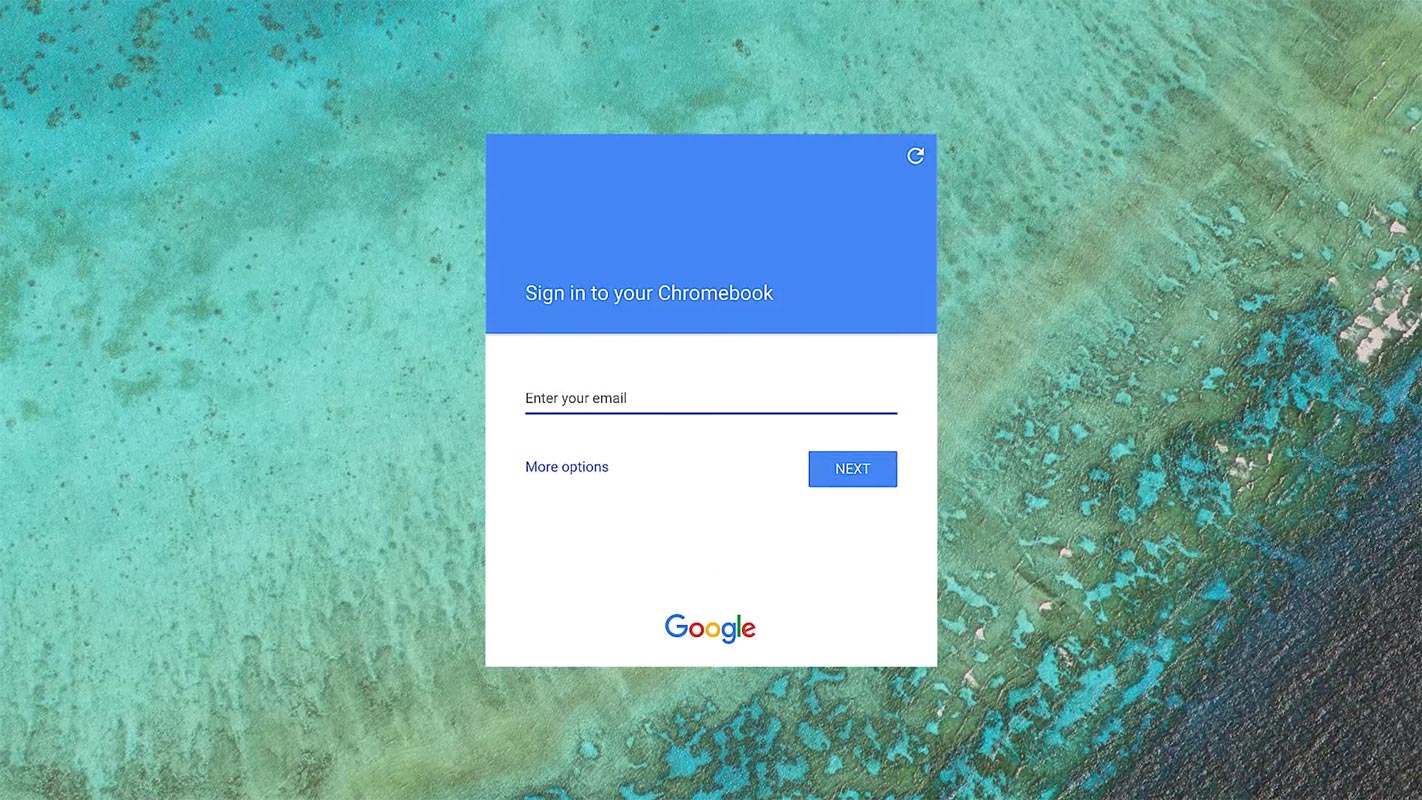
Now, get on your Chromebook and launch the Chrome browser. Sign in with the same account you used to sign in on the old Windows PC. Once you’re signed in, your bookmarks, passwords, and browser settings on the old PC would automatically import to Chrome on your new Chromebook computer.
Fifth Step:
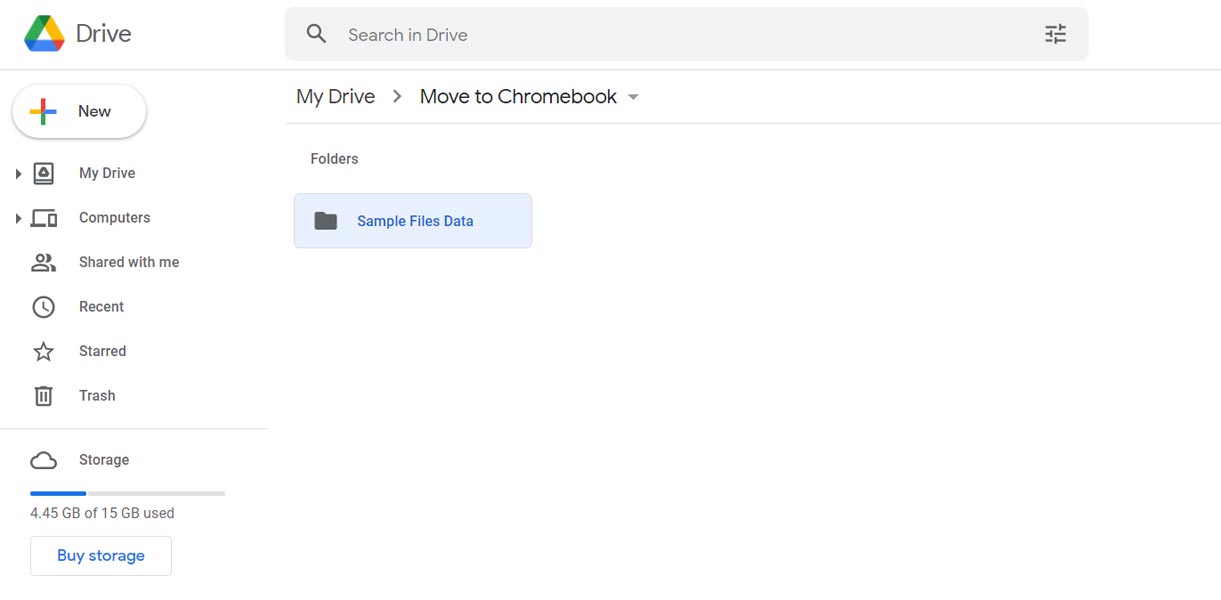
With your browser settings and password being imported into the new Chromebook, the next is to get your files. Now, open the Google Drive app on your Chromebook and ensure you’re signed in with the same default account you used on the old Windows PC and the new Chromebook.
Once you’re on the Google Drive main page, you can start downloading the files into your Chromebook. One after another, you will have all the files on your old Windows PC right on your Chromebook.
Note: This method can consume a lot of internet data, be sure you’re on an unlimited plan before trying it out. If your data is capped, you may need to try the other methods below.
2. Use a Thumb Drive / Flash Drive / External HDD
You can use either a thumb drive, flash drive, external hard drive, or any other removable storage device to perform the file transfer. How would this work? Follow the guide below.
First Step:
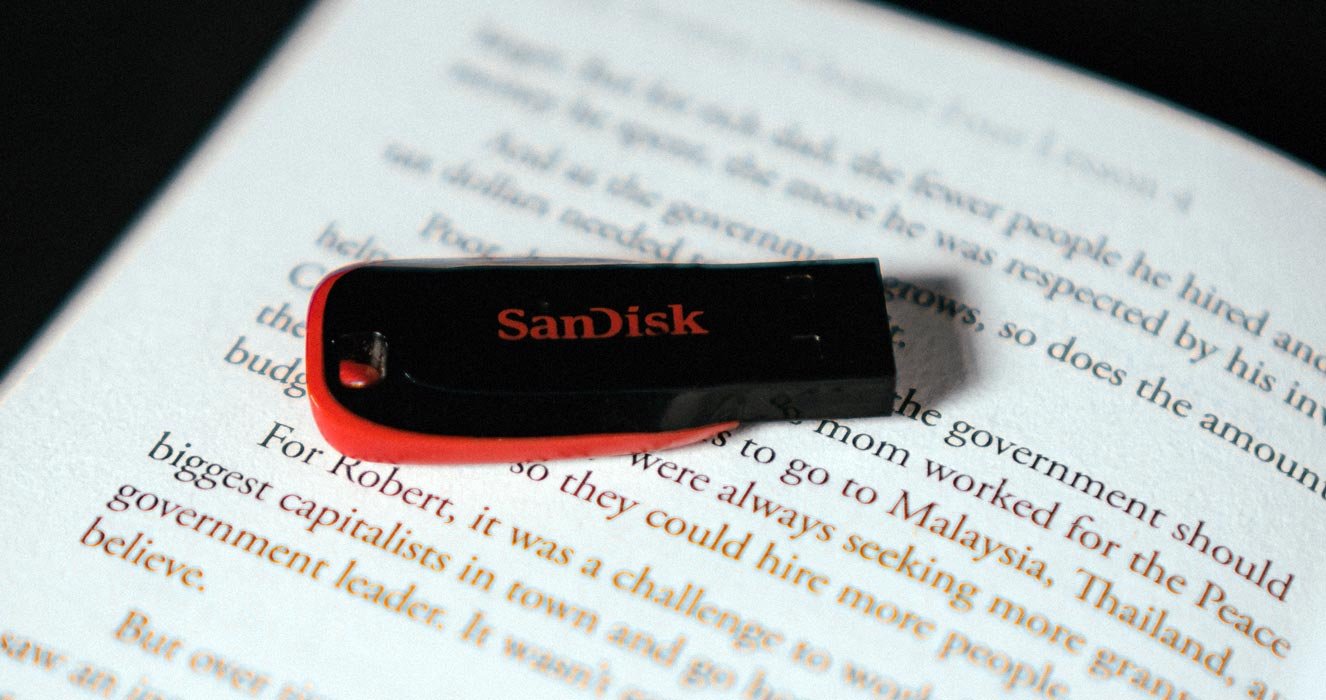
Connect the external storage device to your old Windows PC and copy all the files you want to move into your Chromebook. This may take time, depending on the number of files you’re transferring and the size.
Second Step:
After copying the files to your external storage device, disconnect the device and connect it to your Chromebook. Now, transfer everything you copied from the Windows PC into your Chromebook.
Well, this method may seem simpler, but you need an external drive/device with enough space to contain all the files you want to move. It would help if you were looking at a 250GB external storage drive or at least a 128GB flash drive.
This method does not require any internet data usage; everything is completely offline. The issue you may experience here is sluggishness. Some external storage drives are slow in copying/transferring files.
Nevertheless, there’s another way, and this method lets you move files back and forth between a Windows PC and a Chromebook. And Chromebook can support FAT (FAT16, FAT32, exFAT), HFS+, MTP, NTFS, UDF (read-only) file formats.
3. File Sharing using Network
There’s no longer talk here; we’d be heading straight to the steps to achieve this method of switching files in-between your Windows PC and Chromebook.
First Step:
On your Windows PC, copy the files you want to transfer and put them into a separate folder named Shared. After that, share the folder in File Explorer.
Second Step:
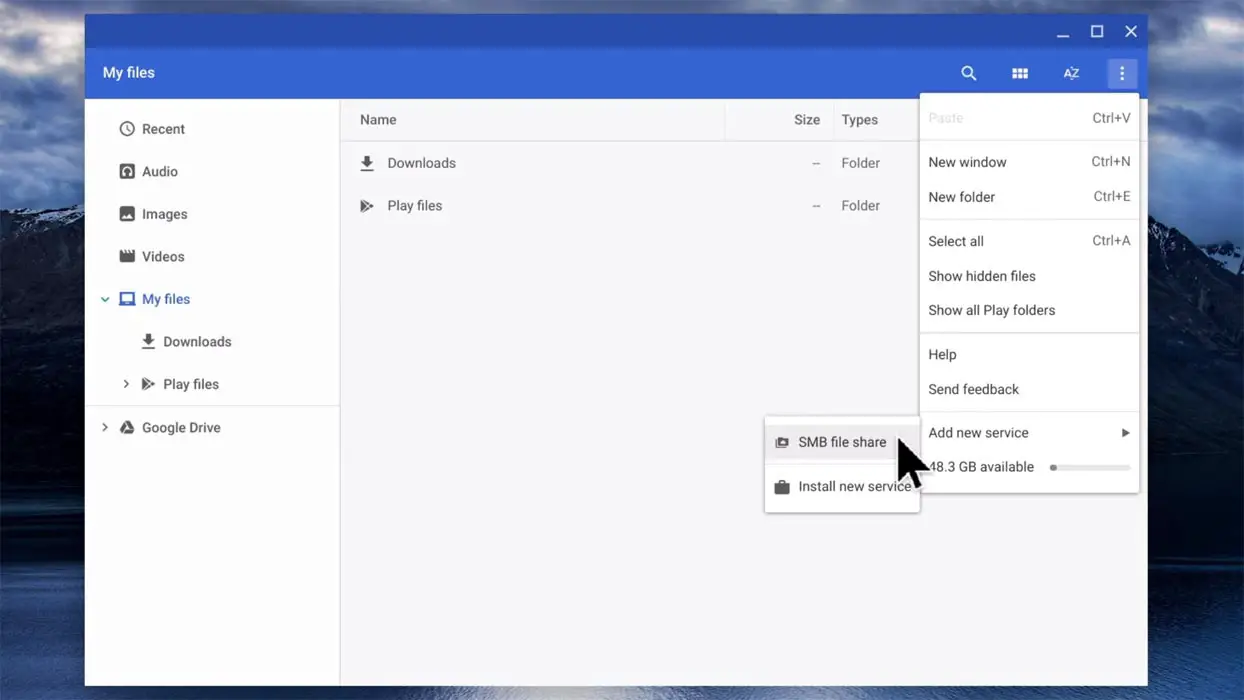
Now, get on your Chromebook and open “My Files.” Go to the three dots at the upper-right corner and select Add new service >>> SMB file share.
Third Step:
Enter SMB://your_PC_name/Share_folder_name
At this point, you need to name the connection. You can give it any name you wish, for example, “Transfer to Chromebook.”
Fourth Step:
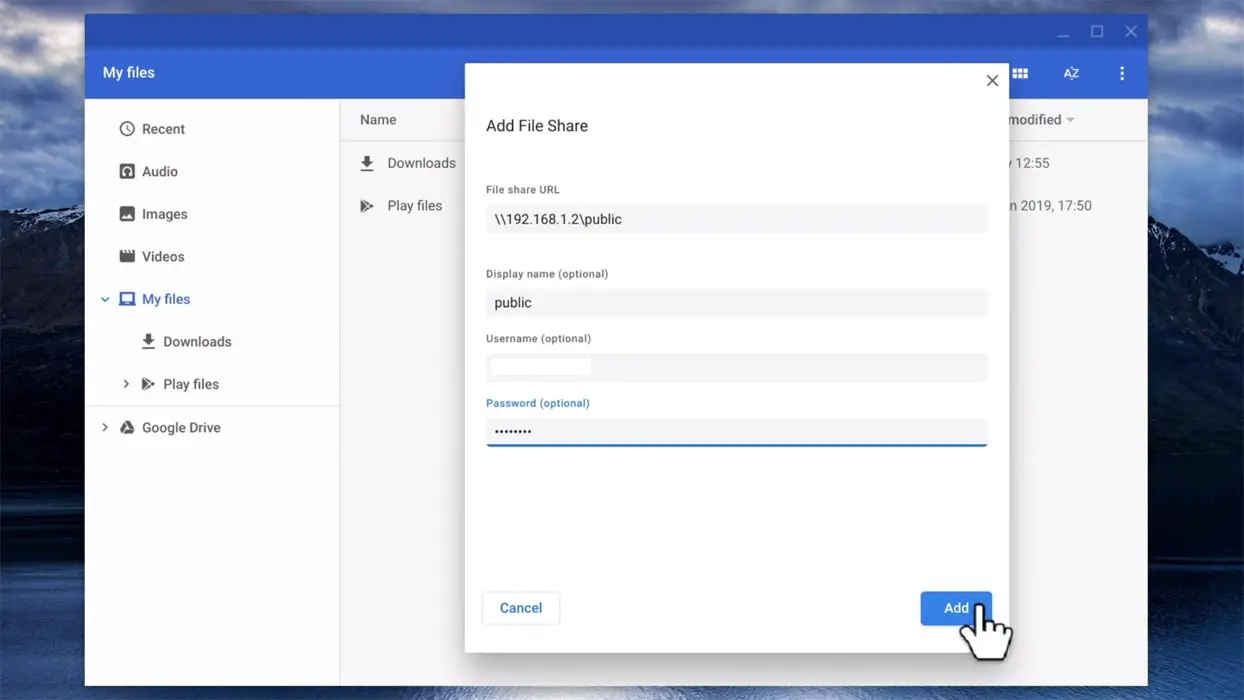
You’d need to enter your Windows PC username and password to start the sharing. Click on the “Add” button at the bottom-right corner to see the connection listed on the left column below Google Drive.
That’s all; if this is configured correctly, you can now transfer files back and forth to your Chromebook and PC.
Wrap Up
This article explains the three (3) possible ways to transfer your files from an old Windows PC to a new Chromebook. Any of these methods you decide to practice is 100% safe, and your data is secured. If you have any further clarification regarding this topic, kindly drop your comment below. Instead of using any third-party apps, It is always a wise idea to use official methods. When we switch data, We always handle sensitive information, So, You can use any one of the above three methods. The Google Drive and SMB methods depend on the Network. But the USB storage method is useful when you have large size files. If you used any other methods to transfer the data from Windows to Chromebook, Share your methods below. It will help other users too.

Selva Ganesh is the Chief Editor of this Blog. He is a Computer Science Engineer, An experienced Android Developer, Professional Blogger with 8+ years in the field. He completed courses about Google News Initiative. He runs Android Infotech which offers Problem Solving Articles around the globe.


Leave a Reply