So I’m going to root my phone? Oh no, I’ve heard a lot of people complain that rooting a device will cause it malfunction, isn’t that true? Well, rooting your Samsung smartphone won’t cause it to fail; instead, it grants you full access to every aspect of the device. There are some apps you cannot uninstall from your smartphone because they were pre-installed by the OEM (Samsung) and these apps occupy important spaces on your device. Rooting your Samsung Galaxy will cause you to enjoy the invention without restrictions or limitations. However, if not done well or by a knowledgeable mobile phone technician, your device may get damaged or malfunction due to improper rooting. Yeah, everything has its advantages and disadvantages. Nevertheless, in this case, the problem (s) of rooting your mobile can be Avoided, if you carefully read through this article.

How to Upgrade Samsung Galaxy Device to Newer Versions
The Samsung Galaxy devices run on Android OS. It is an excellent Android device you can use your old devices even in 2022; the features & specs are similar to the ones on Samsung’s latest smartphones born to the Galaxy series.
Well, you can update the Android version of your Galaxy model. Primarily, it may come with Lollipop, Marshmallow, Nougat, Oreo Whatever. But, you can upgrade to the Latest Android version. This process can be done automatically via OTA or manually through rooting the device and installing a custom Firmware.
One period the device will stop receiving OTA updates. Therefore, upgrading to the Latest Android version has to be a manual process which includes rooting your Galaxy device. Just like I said earlier, rooting a smartphone is not bad/harmful. Even, it lets you free up a lot of space on the device by uninstalling all the unuseful bloatware apps which are on the device. Below are the staunch steps to successfully root your Samsung Galaxy devices.
Supporting Versions
-
All Unlocked Bootloader versions. Don’t try with US Carrier versions, It may lead to brick your device.
This particular app may likely work for rooting other Samsung and other Android smartphone models.
Things to note before proceeding to root your Smartphone
-
Lookout for your device mobile no.
-
Ensure your phone battery percentage above 50% (A fully charged battery recommended)
-
Backup everything you have on the device, just in case…
Rooting Process
There are two Steps provided in this article with which you can use to root your Galaxy smartphone. They are thus;
-
Using TWRP Recovery on the device or CF Auto Root Method. Choose one method. Don’t follow two methods.
-
Install SuperSu to manage the device root permissions
Getting started
Step 1
-
Download and install the Samsung USB driver to your computer system
-
Also, download the Odin software – Odin Download.
Step 2.1- If you Prefer TWRP Recovery
-
Download and save the TWRP Recovery file from Official TWRP site for Samsung Galaxy Devices.
Step 2.2- If you Prefer CF-Auto-Root
- We Recommend using the TWRP Method, But in rare cases, your device may not contain TWRP recovery. In that situations use the CF-Auto-Root Method.
- Download and save the respective file from Official site for Samsung Galaxy Devices. Just Enter your Mobile model number.

- After selecting your model number, Select your current build number. You can find your current Build number in Settings-> About -> Build Number.
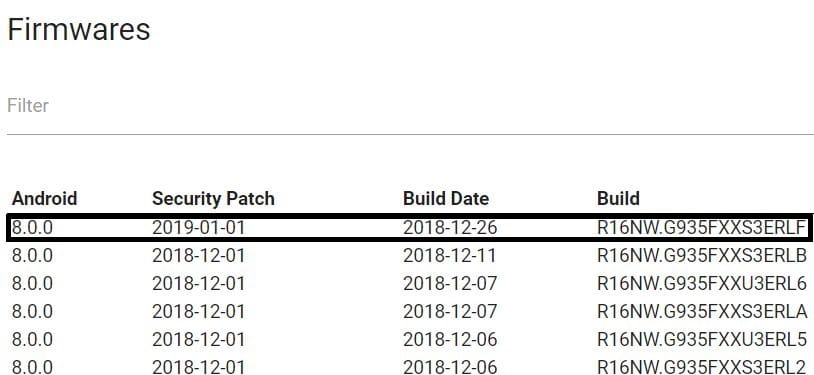
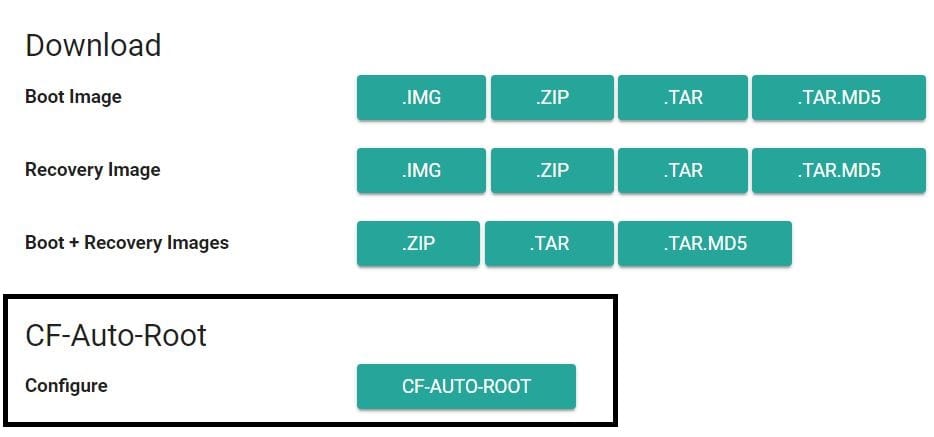
- It will lead to the files page. From files page scroll down to the bottom and select CF-Root.
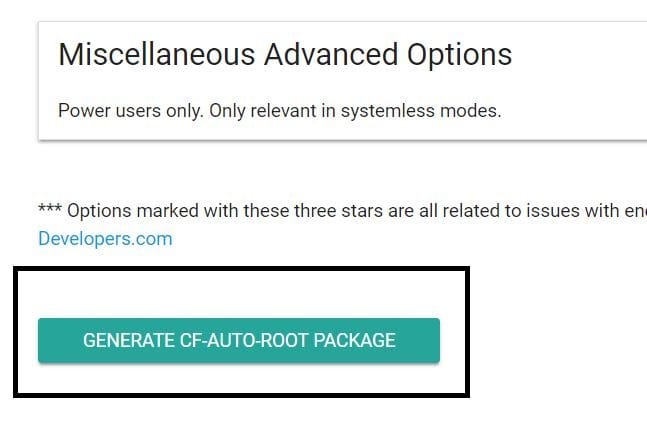
- After selecting CF-Auto-Root, Don’t select or change any settings Just scroll down to the bottom and select Generate CF-Auto-Root Package.
- Wait for a few minutes, you will get the file.
Step 3- Flashing TWRP/CF-Auto-Root in your mobile
-
Extract the Odin Files on your PC and install.
-
Download SuperSu.Zip and copy it into your mobile internal memory.
Non-rooted Samsung Galaxy Devices (Mostly all users are in this Case)
If your device not rooted before, follow the steps below to root your device;
-
Enable USB Debugging Mode. To do this; go to settings >>> about >>> Tap on the “Build Number” 7-10 times consistently to enable “Developer Options,” then go to the “Developer Options” and enable USB Debugging Mode
-
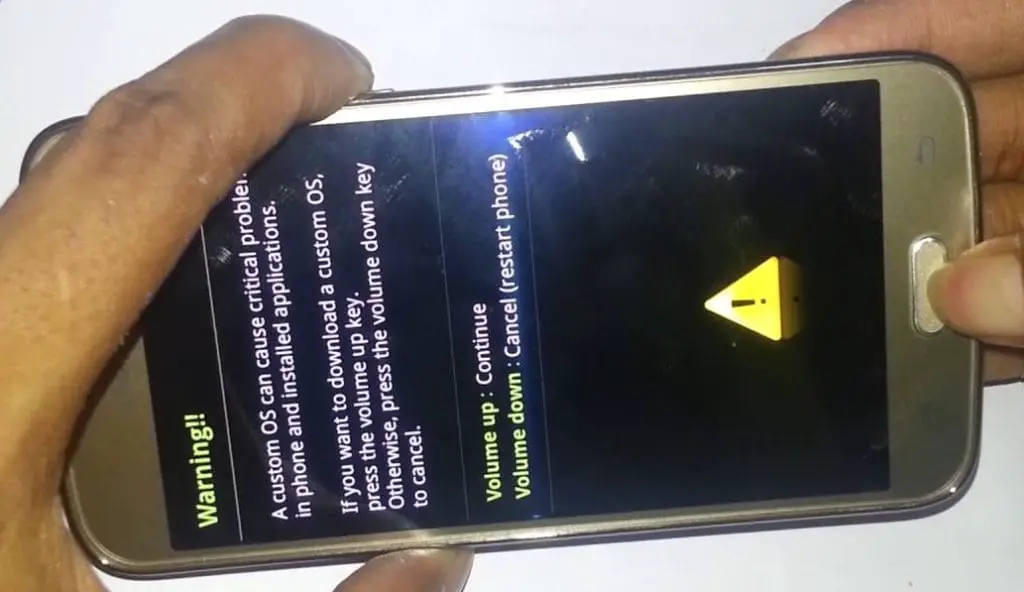
Switch off the device, then, enter into Download mode. To do this; press and hold down the Volume Down + Home + Power buttons at the same time. If your device contains Bixby Key then, Volume Down + Bixby + Power. If your device contains only Volume and Power Buttons then Volume Down + Volume Up + Power Key.
-
Press the Volume Up button to continue when you see the warning message.
-
Now, connect the Galaxy mobile to the computer via USB cable
-
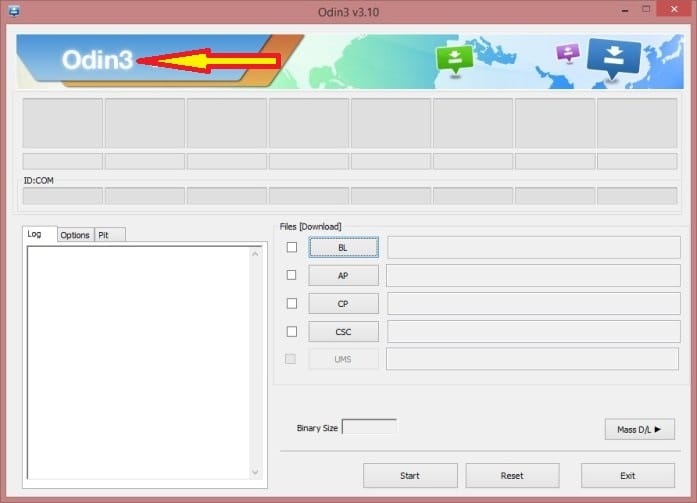
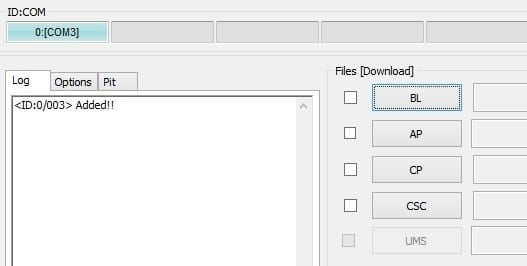
Launch the Odin app on your computer. If the device detected by this app (Odin), it will show you a message that reads – added!!!
However, if the device is not correctly connected, you won’t see this message. So, you have to check the USB cable if it is good and reconnect the device.
-
After connecting the Samsung device, click on the PDA/PA button to browse/search and get the TWRP Recovery/CF-Auto-root file from where you saved it on your PC. Also, navigate to “options” and tick the Auto Reboot.
-
Click on “Start”
-
Once the TWRP/CF-Auto-root loaded into the device, reboot your device in recovery mode. To do this; Switch off your phone (Galaxy), press and hold the key combination buttons as we mentioned before and the device will go into recovery mode.
-
Kudos, you have just Installed the TWRP Recovery/CF-Auto-root on your Samsung Galaxy.
If you Installed TWRP Recovery
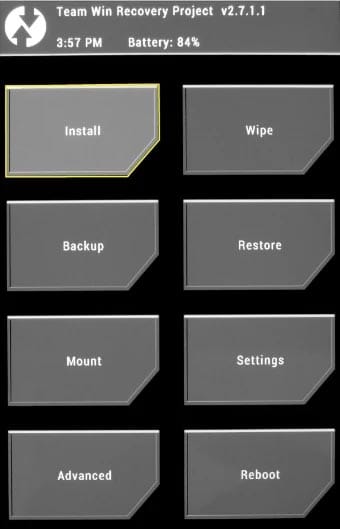
Now that you have installed TWRP Recovery, it’s time to root the device with the SuperSu App.
-
Still, in the TWRP recovery mode, select wipe >>> advance wipe >>> cache, system, data (Remember to make a backup first)
-
Return to Home in the TWRP Mode, tap “Install” and select SuperSu.Zip
-
Swipe to install the APP.
If you Installed CF-Auto-Root
Nothing more, reboot the device regularly, you have rooted your Samsung Galaxy device. However, the SuperSU app will appear among your installed app so you can manage Root permissions.
Rooted Samsung Galaxy Devices(Already Rooted Users- Can Install TWRP Easily)
If you have previously rooted your Galaxy follow the steps below to install the TWRP Recovery file;
- Download the Flashify App.
-
Download the TWRP Recovery Image.
-
Launch the Flashify app, grant SuperUser permission and search for the downloaded TWRP recovery image to install it
-
To check if the TWRP Recovery is rightly installed, enter into recovery mode by holding down the respective buttons.
What more?
You have just learned how to root your device. This act is significant if you wish to upgrade from the original Lollipop version to Marshmallow or other newer Android OS versions.

Selva Ganesh is the Chief Editor of this Blog. He is a Computer Science Engineer, An experienced Android Developer, Professional Blogger with 8+ years in the field. He completed courses about Google News Initiative. He runs Android Infotech which offers Problem Solving Articles around the globe.


Leave a Reply