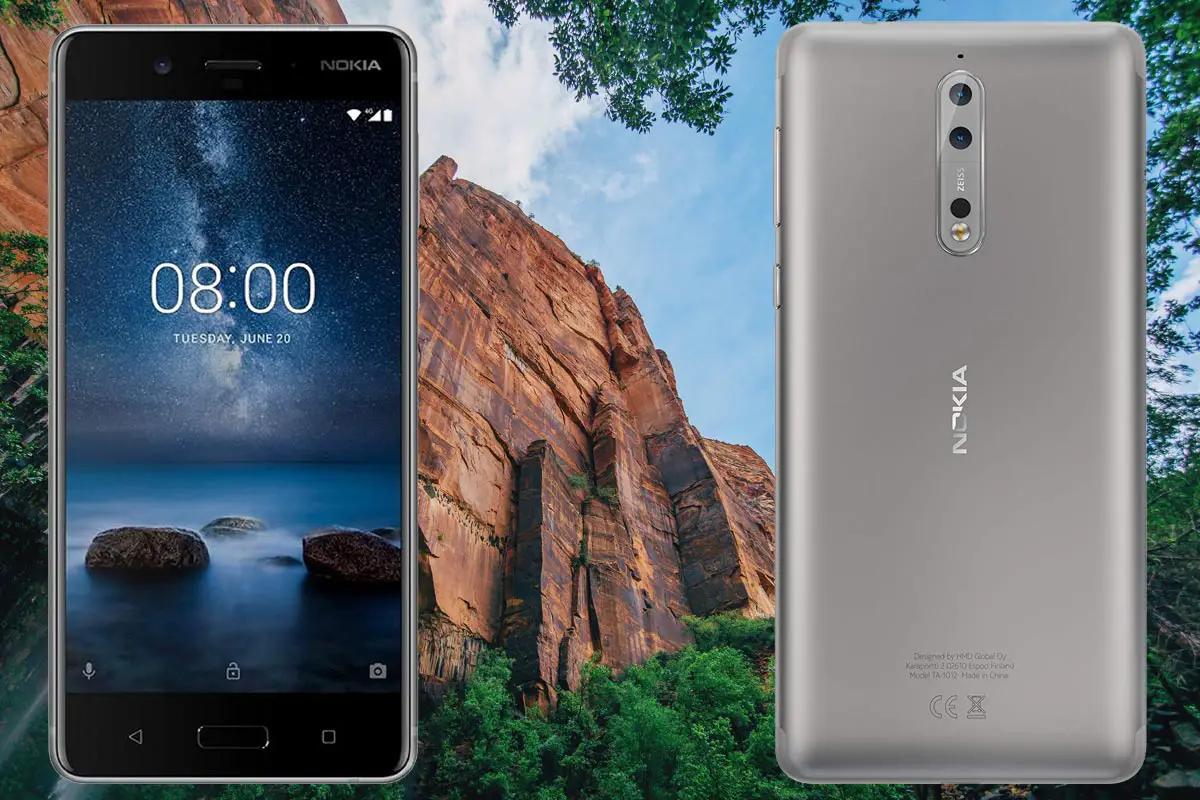
Even if Nokia 8 is not an Android One Phone, It frequently receiving updates from Nokia. Recently Nokia 8 received Pie 9.0 update with some lacking features like Digital Wellbeing and Quick Actions. You can root your mobile using the following steps. But, think twice before rooting. If you are a developer and addicted to some root required apps, you can get root access. Instead of SuperSu, we are currently using Magisk Manager. SuperSu is outdated. Before making root, read the following Tutorial thoroughly. But, After this process, you may lose Direct OTA update feature, due to Security concerns. You need to Sideload the firmware.

Why should you Root Nokia 8?
You should have a proper reason, and you know what you are doing. Yes, with a Minimum of 6 GB RAM and Qualcomm MSM8998 Snapdragon 835 processor, You can use this mobile without root for 3-4 Years If you use correctly. Don’t root because everybody is saying when root your mobile it can become the fastest car in the world. No. Rooting is to extract some performance from the device. But, you already have Powerful specs and software. So, If you are addicted to some root apps, you can root. But, if you want to test, I won’t recommend it.
How to Root Nokia 8 Pie 9.0
Nokia 8 International Variants comes with a flexible bootloader. But some new devices come with locked Bootloader. This means that different smartphone variants can be easily rooted. Also, the device can accept to install TWRP recovery or any other custom recovery file/app alike.
TWRP recovery is a custom recovery file which must be installed on your devices because you can root them successfully. In this article, we explained the easiest method to follow and install TWRP recovery on Nokia 8. However, the tool required for rooting this device is the Magisk App.
With the help of TWRP Recovery, you can quickly flash the latest version of Magisk into your Nokia 8 to gain root access. Before sharing the tutorial, you may want to know that, with the TWRP recovery present on your device, you can easily install any custom ROM or firmware. Does it seem complicated? Relax, everything will be explained succinctly in bullets.
Things to check out for;
-
Make sure your device battery is charged above 50%
-
Backup your current files and data, full data loss process (save them on external storage).
Pre-Requirement Steps

-
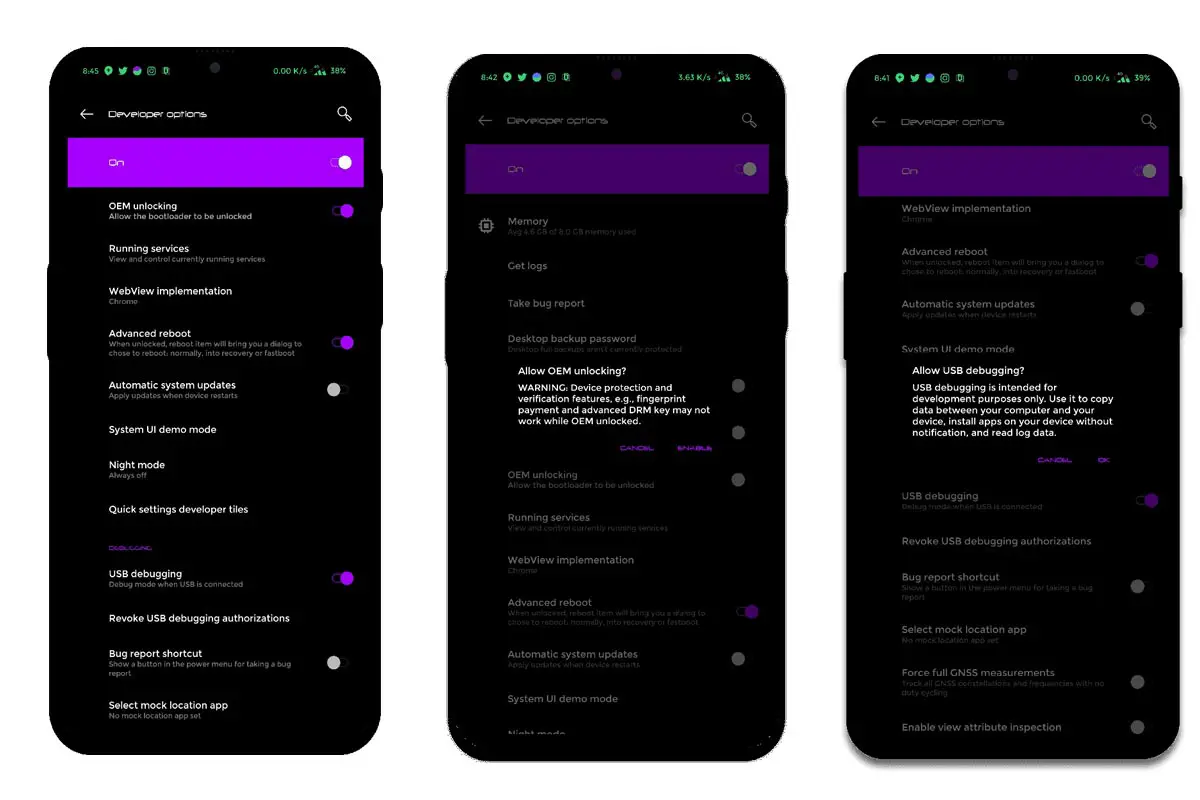
Enable USB Debugging Mode and OEM Unlock in your mobile. To do this; go to settings >>> about >>> Tap on the “Build Number” 7-10 times consistently to enable “Developer Options,” then go to the “Developer Options” and enable USB Debugging Mode, OEM Unlock and Enable the ‘Advanced Reboot.’ There is no complicated process in Nokia 8.
-
Also, download the ADB drivers. Install It in your PC.
- Download Magisk.Zip (Latest Version) and Copy it to Your Phone Memory.
-
Download and save the TWRP File in your Internal Memory and rename it to recovery.img.
- twrp-3.2.3-1-NB1.img
Flash TWRP

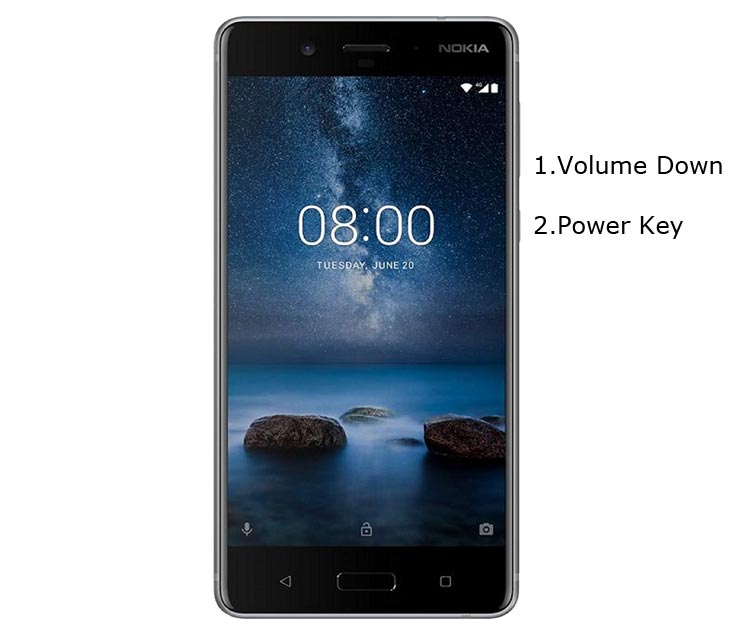
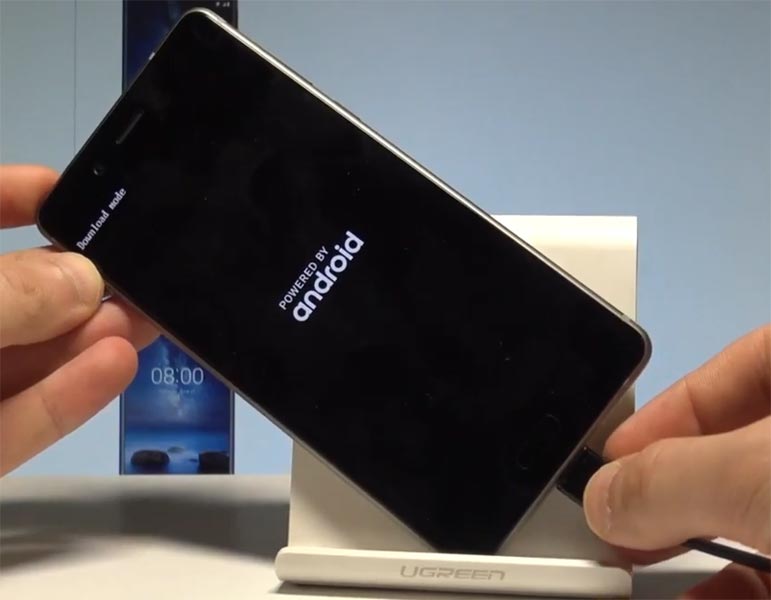
- Switch off your device. Then, enter into Fastboot/Download mode. To do this; press and hold down the Volume Down+ Power buttons and Insert Micro USB Cable which should be connected with your PC.

-
You can see the “Download mode” warning message.
-
Launch the fastboot on your computer. Open a Command prompt on your PC and type below command.
- fastboot flash boot recovery.img
- After the above successful command, Type below command.
- fastboot reboot
- After the process complete, It will boot into the TWRP. Don’t Boot into standard OS until we flash boot image and magisk.
Create and flash Stock Boot.img file
-
You already in TWRP of your mobile. Open a Command prompt on your PC and type below command.
- adb devices
- Above command will show some device ID codes, means your mobile is Successful makes a connection with the ADB process. Now type the below command.
- dd if=/dev/block/bootdevice/by-name/boot of=/sdcard/boot.img
- After the process complete, you can find boot.img file in Internal Storage. Now Navigate to Home of TWRP Select Install, Select boot.img.
- After the process complete, Again Go to Home of TWRP.
Install Magisk in your Nokia 8 using TWRP
- Return to Home of TWRP select Install.
- Select Magisk.Zip from your mobile.
- After the Installation, Select Wipe->Advance Wipe->Select Dalvik, Data, Internal Storage.
- Reboot your mobile.
- You can also install Magisk Manager in your Mobile Applications.
What More?
Nokia 8 has a minimum of 6 GB RAM, and it is a Well Optimized phone; There are Major regular updates and monthly updates, from Nokia for a long duration. If you compare it with Old Nokia devices, they still receiving updates. So, you should know what you are doing and the real purpose, you can root your device.

Selva Ganesh is the Chief Editor of this Blog. He is a Computer Science Engineer, An experienced Android Developer, Professional Blogger with 8+ years in the field. He completed courses about Google News Initiative. He runs Android Infotech which offers Problem Solving Articles around the globe.


Leave a Reply