Even if Razer is a gaming hardware company, they focus a lot on Software too. When regular phone manufacturers sometime forget to roll out the updates, Razer rolls out pie 9.0 upgrade to It’s Razer Phone 2 as promised. There are plenty of features added in this new Pie Upgrade. If you are a regular user, you can try with Regular OTA method. But, sometimes, you may not get the update. In those situations, you can use below manual process. I split the flash ROM section for both Regular and root users. Root users should use the steps according to your part, Or Else you will lose root access when upgrading your mobile.
Pre-Requirement Steps
You should perform these steps before starting the process.
Run a backup
Always and always, you must run a comprehensive backup of all files, document, and data on the Android device to be worked on. While the action may be done by a professional, if there be any mistake, all data on the device will be lost.
So, to be on the safe side, do run a backup first before continuing.
Charge the device fully
A lot of people will say you should charge the device up to 50% battery percentage or more. We recommend a fully loaded device so that there won’t be any stories.
Download Razer Phone USB drivers, ADB drivers, and ROM
- Yeah, it is essential. You must download and install Razer Phone USB driver on the PC which you’ll be using for this action.
- Download the ADB drivers. Install it in your PC.
- Download Razer Phone 2 ROM. Copy this file to ADB Folder. Extract the data in the same folder.
Unlock Bootloader
Bootloader unlock is a necessary step for flashing firmware in your Razer Phone devices. Some International versions can be unlocked quickly by enabling OEM to unlock in Developer settings. But, some US Variant Devices need to be unlocked using Device ID and some fastboot steps. Before everything, Please enable OEM to unlock in settings.
![]()
- Go to settings >>> about >>> Tap on the “Build Number” 7-10 times consistently to enable “Developer Options,” then go to the “Developer Options” and enable USB Debugging Mode and OEM Unlock.
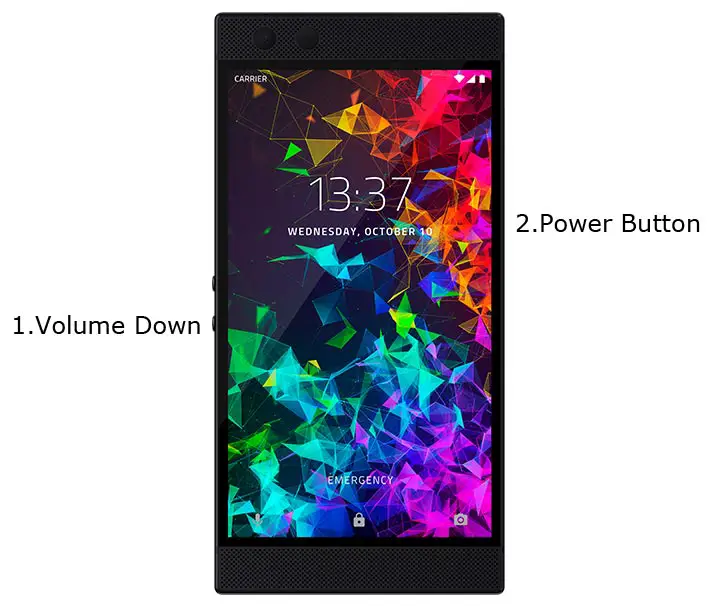
- Switch off your device. Connect your mobile to PC. Then, enter into Download mode. To do this; Press and hold down the Volume Down + Power buttons at the same time for some time. It will boot your mobile into Fastboot mode.
-
Now, connect the Razer Phone 2 mobile to the computer via USB cable.
-
Launch the fastboot on your computer. Open a Command prompt on your PC and type below command.
- fastboot flashing unlock

-
Your phone will ask for the Unlock permission Press volume keys to confirm the action.
- After the process completes, your mobile will reboot. You should recheck the OEM Unlock status; Sometimes It may lock again.
Flash Firmware Pie 9.0 in Razer Phone 2 devices
Official OTA Method
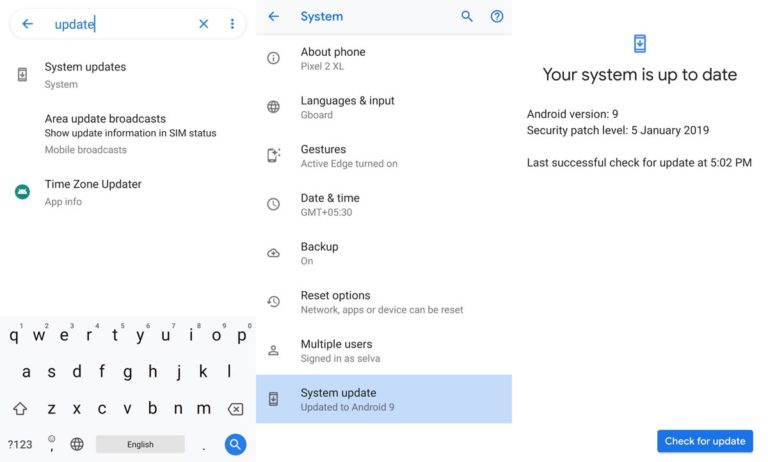
If you want to update a security patch to the current month. Don’t go for the manual method. Try this Automatic method.
The process is straightforward and simple;
-
Go to your device setting menu and scroll down to the bottom
-
Tap on “Software Update”
-
You may have to refresh the page to start the OTA upgrade process.
Manual Method
Steps- Regular Users
- Switch off your device. Connect your mobile to PC. Then, enter into Fastboot mode. To do this; Press and hold down the Volume Down + Power buttons at the same time for some time. It will boot your mobile into Fastboot mode.
-
Now, connect the Razer Phone 2 mobile to the computer via USB cable.
-
Launch the fastboot on your computer. Open a Command prompt.
-
Click the “flash_all script” file and drag this file into Command prompt and press enter.
- The script will install all files. When the process complete, It will reboot your mobile. You can lock your Bootloader after this process. If you planned to Root, don’t relock your bootloader.
Steps- TWRP Custom recovery Users
- Download respective firmware from the above steps.
- Download Magisk.Zip (Latest Version), Razer Phone 2 Bundled ROM and no-verity-opt-encrypt, Copy all the files to Your Mobile external memory.
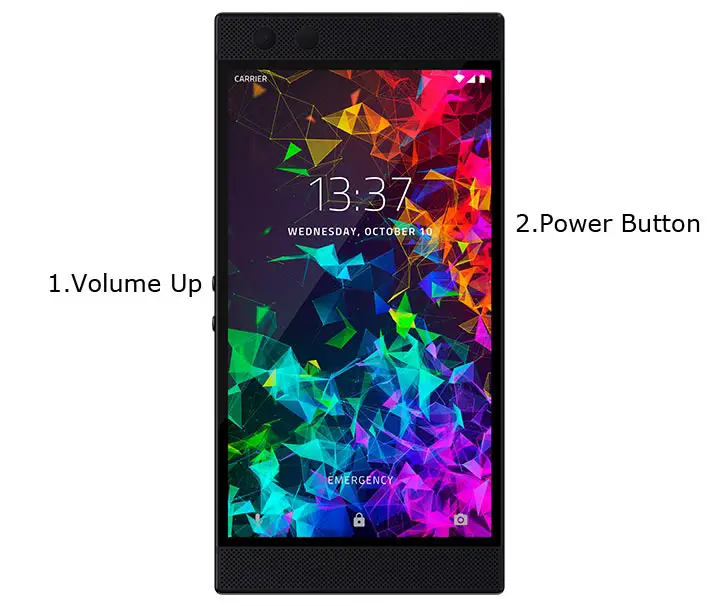
- Switch off your device. Then, enter into Recovery mode. To do this press, hold down the Volume Up + Power button.
- In TWRP, Make a full Backup on External SD Card or Pendrive using OTG Cable.
- Select Wipe->Advance Wipe->Select Wipe Dalvik / ART Cache, Cache Data.
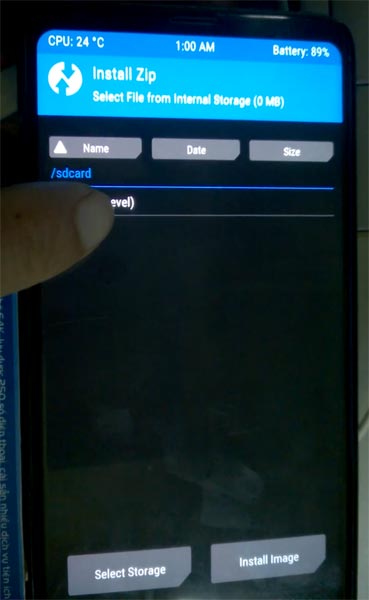
- Return to Home of TWRP select Install. Select the firmware file.
- Return to Home of TWRP select Install, Select Magisk.Zip. The Same way installs no-verity-opt-encrypt. Return to Home and reboot to Bootloader again.
- After the above steps again, Select Wipe->Advance Wipe->Select Cache Data. Flash Magisk still to ensure the Pie version will not remove the Magisk. After this process, reboot your mobile.
Check Firmware
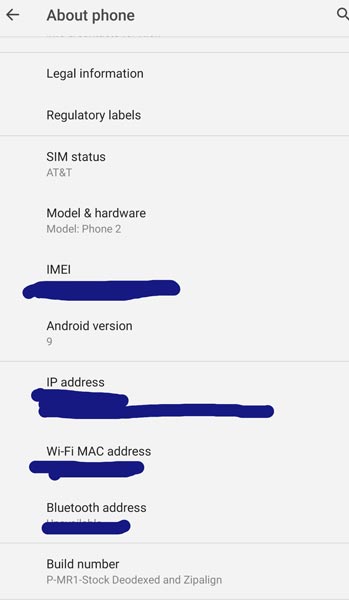
Since you have just flashed new firmware to your Razer phone device, you may want to check if the firmware is actually what you installed. Follow the step below to check your device firmware version.
You can check the firmware details >>> settings >>> about >>> version.
Razer Phone Pie 9.0 Features
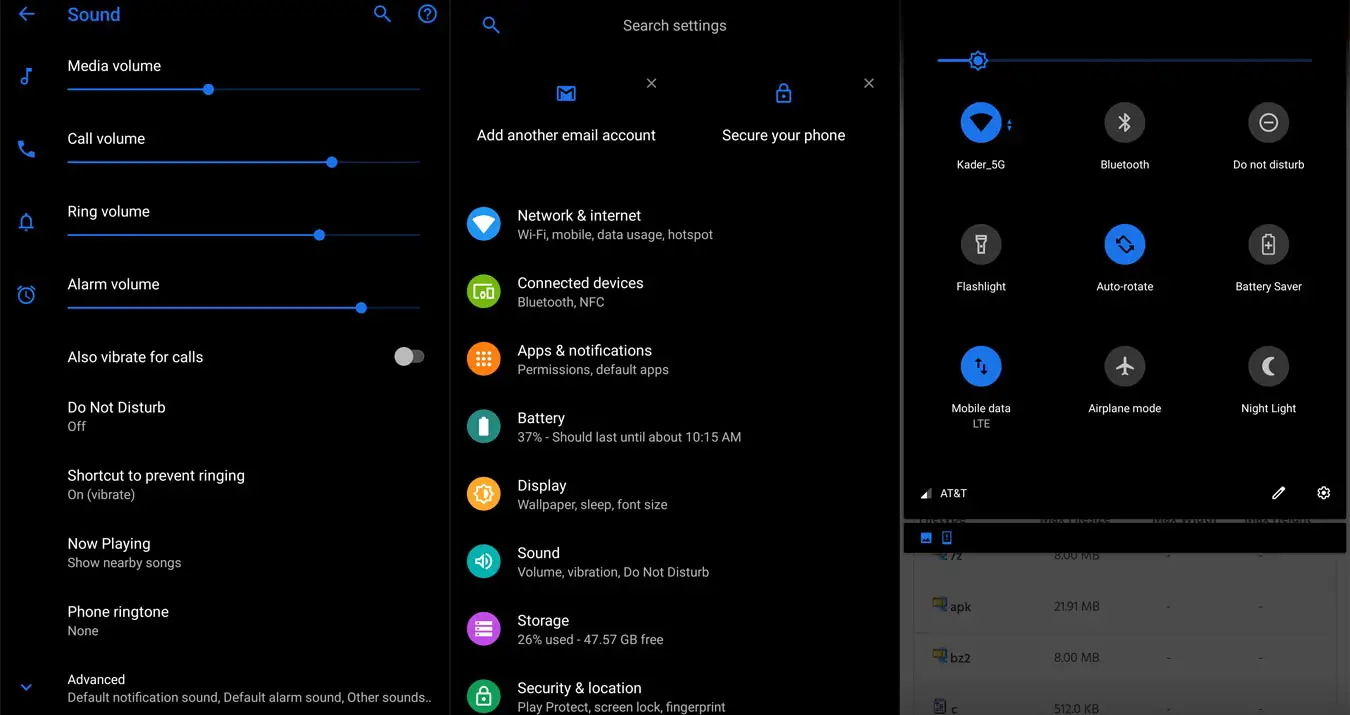
There are plenty of features added in the Pie 9.0 version, compare with the Oreo version. Here I mentioned some important features.
UI Enhancements
-
Content, settings, and every option are modified to use mobile in handy.
-
Options moved to the Bottom position so that you can use comfortably in one hand.
-
Night Mode available to reduce eye stress.
Notifications
-
You can quickly reply to messages within the notification bar.
-
Image thumbnails are available.
Always On Display
-
New clock styles have been added, Charging Information is also available.
Settings
-
Menus have been reorganized to find every essential and frequent usage easily.
Phone
-
Call History increased.
Contacts
-
Now you can manage contacts from various accounts with a new drawer menu.
Camera
-
Enhanced features are available now with AI Features.
Gallery
-
Photo Editor App Available.
My Files
-
New Storage Analysis Tool is available to Monitor Storage and RAM Usage.
Other improvements and changes
- Adaptive Battery- Better Battery optimization.
- Digital Wellbeing- Optimize your time with Social Network interaction.
- 4k60FPS added for smooth Video Recording experience.
- Special Pie 9.0 Gestures added.
Final Words
This is it. Using the above two methods, you can Install your firmware in your Razer Phone 2 in both Regular and Root stage. TWRP process may require additional flashing steps and files. As a Root user, you are already familiar with these steps. We should flash encryption.zip files to avoid encryption issues. Some USA Devices doesn’t support Bootloader unlock function, for those devices you can try with Critical Unlock Bootloader method. If you face any problem comment below. We will figure out what we can do.

Selva Ganesh is the Chief Editor of this Blog. He is a Computer Science Engineer, An experienced Android Developer, Professional Blogger with 8+ years in the field. He completed courses about Google News Initiative. He runs Android Infotech which offers Problem Solving Articles around the globe.


Leave a Reply