In Heat countries, Air conditioning is standard, and in the US, UK, and other similar countries, Thermostat is common. Since Bith Air Conditioning and Thermostat always consume high electricity when we don’t set up them smartly, It will at most of our earnings. In those situations, Lots of Air conditions come with the idea of AI and other features. Regarding Thermostats, Google Nest Thermostat controllers help control the temperature with AI and manual features. Since Thermostat is a must-need device, We can’t wait for the service to take days. One of the common issues in the Nest Thermostat is the Red Light Blinking issue. There are several reasons for the problem. We have to go through it one by one to fix it.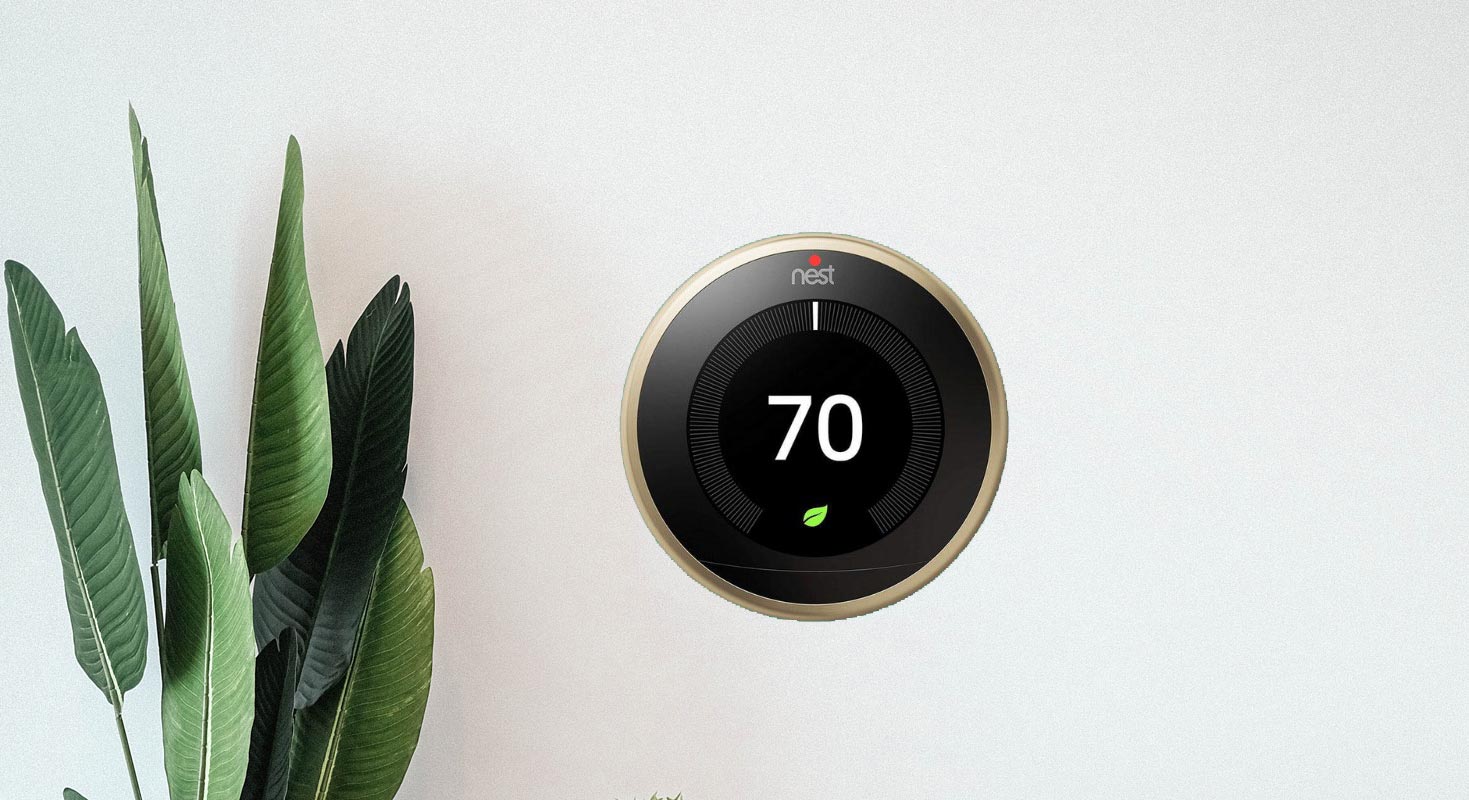
When we say the word wise, the devices are not only brilliant for their purpose, But they also can troubleshoot themself in most situations. But sometimes, we have to go through manual Troubleshoot methods.
Nest Thermostat Red Light Blinking
A blinking red light at the top of your thermostat’s display means the battery charge is deficient, but it’s being charged. Please wait until the battery is set before you use it to control your heating or cooling.
Troubleshoot Nest Thermostat Red Light Blinking
The following Troubleshoot methods are standard for all Nest Thermostats, including:
- First-gen Nest Thermostat
- Second-gen Nest Thermostat
- Third gen Nest Thermostat
- Google Nest Learning Thermostat
Wait for Sometime
If you’ve successfully installed your Nest thermostat, but a blinking red light appears after you’ve been using it regularly for some time, there may be a problem with the thermostat wiring or another power issue. For instance, the blinking red light may show up and then go away on its own repeatedly.
Wait for the Full Charging
Your thermostat should eventually turn on when the battery is charged enough. Depending on how low the battery is, charging can take several minutes or up to an hour.
If you’ve waited over an hour and your thermostat still isn’t on, there may be another problem that you need to fix. Follow the steps below to resolve the issue either during or after installation.
Speed up charging with a USB cable
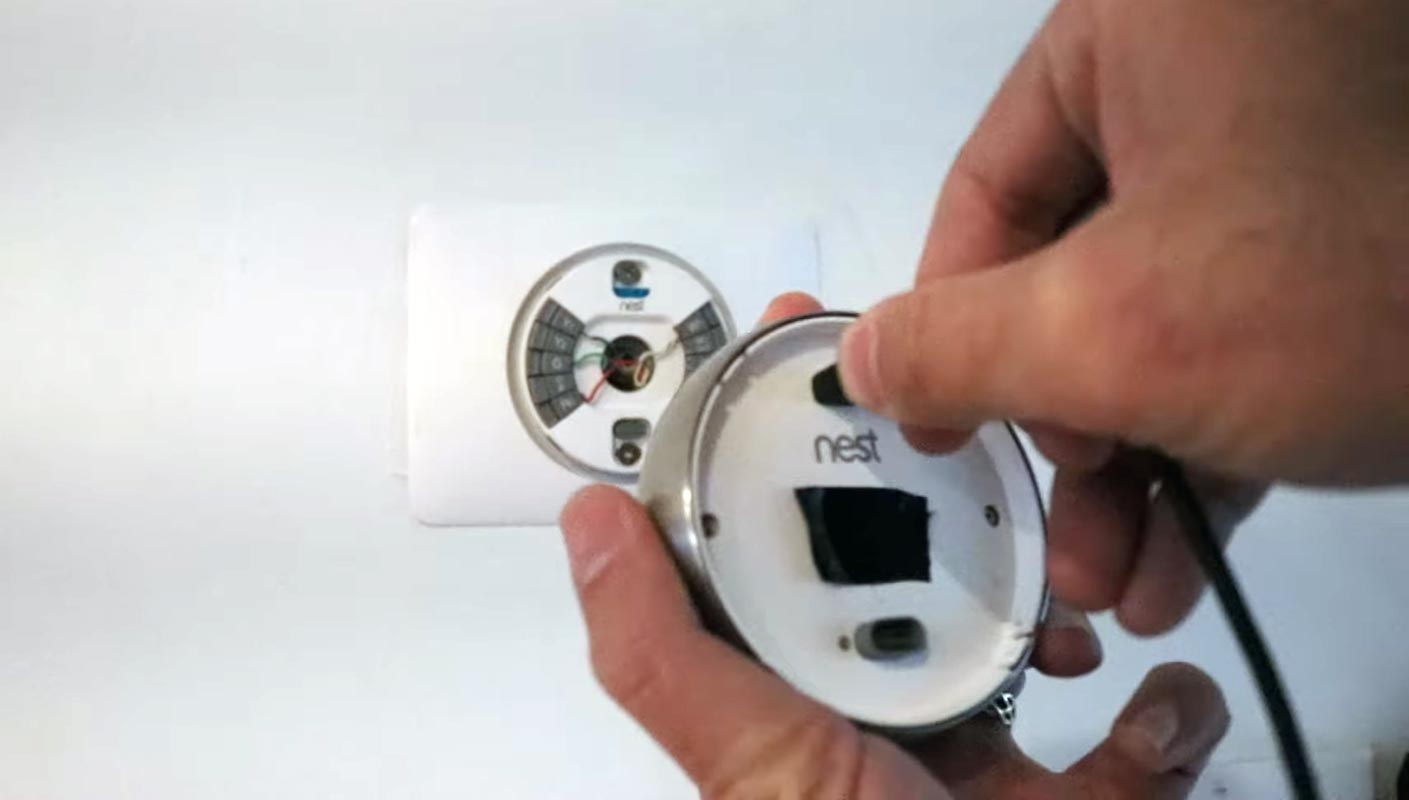
- Pull off the thermostat display and use the USB port on the back to charge it with a USB cable and wall charger. Depending on your model, it’ll be either mini or micro USB.
- Note: Do not use a computer USB port or other unpowered USB port for charging.
- The display should eventually light up with a message asking you to connect it to the base.
- Reconnect the display to the thermostat base. Press firmly until you hear it click into place.
Remove the batteries and put them back in
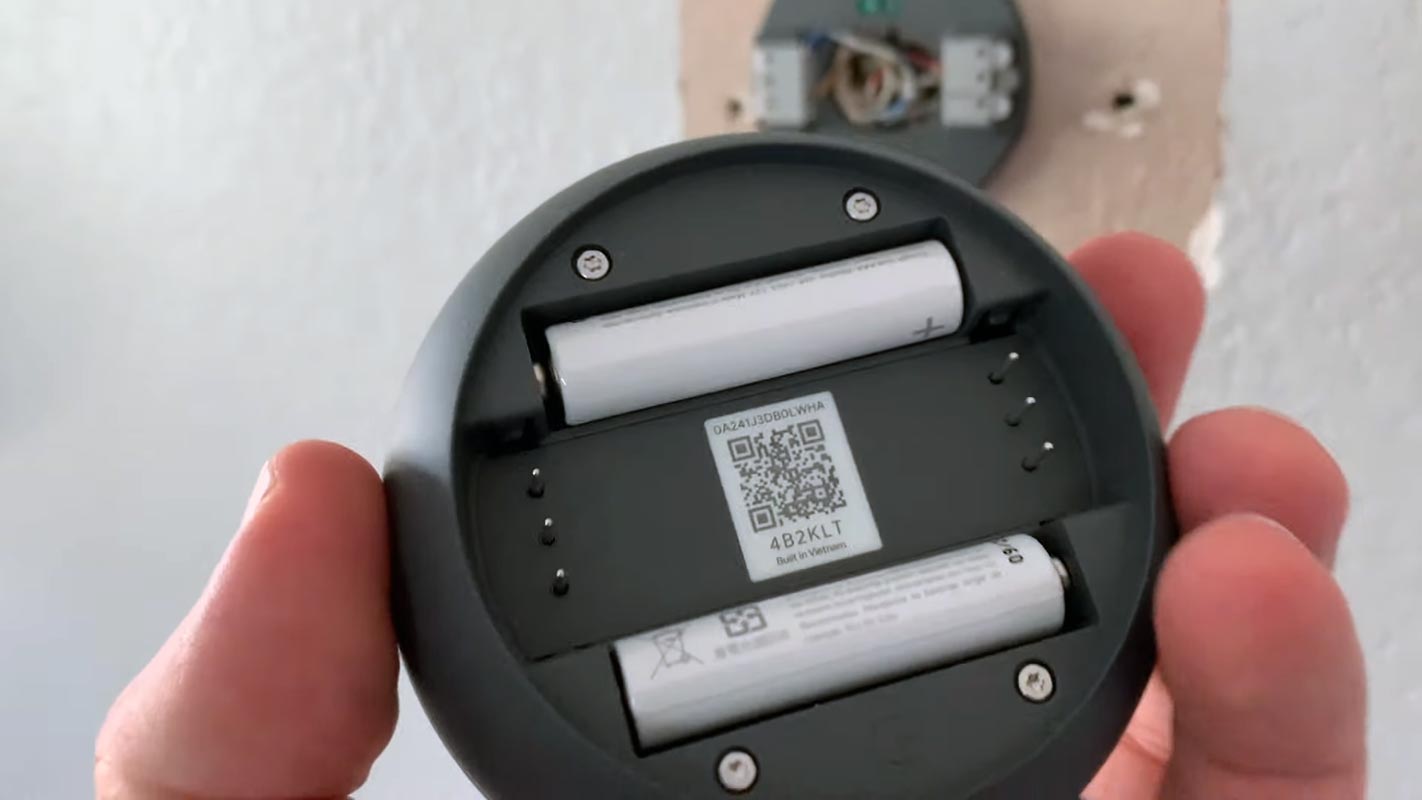
- This method is suitable only for the removal of battery models. Pull your thermostat off its base and remove both batteries. Make sure that nothing is between the battery and the battery terminals.
- Put the batteries back in. Be sure to match the positive “+” and negative “-” ends of the batteries with the markings in the battery compartment.
- Press your thermostat onto the base until you hear it click.
- Your thermostat will take a few moments to turn on and restart.
Replace your batteries
Important: This method is suitable only for the removal of battery models. Use only high-quality 1.5 V AAA alkaline batteries from a known manufacturer.
- Pull the thermostat display off the base.
- Remove the old batteries from the back of the thermostat display.
- Insert the two new AAA alkaline batteries. Be sure to match the positive “+” and negative “-” ends of the batteries with the markings in the battery compartment.
- Push the thermostat display back onto the base until it clicks into place.
Check the Voc, Vin, or lin values
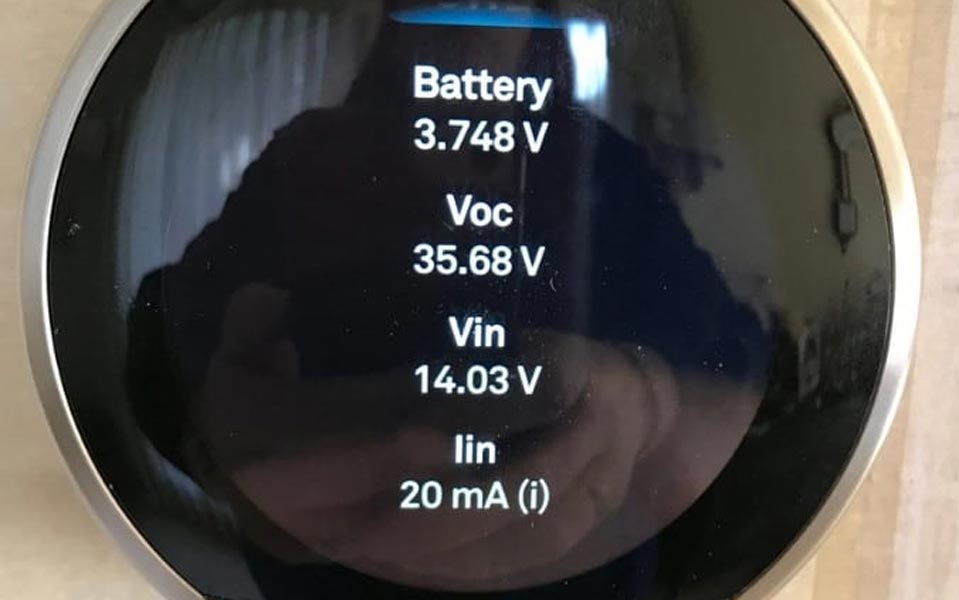
- Charge your thermostat with a USB cable if needed.
- Reconnect the display to the thermostat base and go to Settings > Technical Info > Power.
- If the Voc, Vin, or lin values are not within the specified ranges, there may be a wiring or system issue. The selected fields are as follows,
If there isn’t a C wire in your thermostat:
- Voc: 29 to 42V
- Vin:
- 29 to 42V when your system is not running
- 6 to 7V when your system is running
- lin: 20 to 40 mA
If there is a C wire in your thermostat:
- Voc: 29 to 42V
- Vin: 29 to 42V
- lin: 100 or 200 mA
You may need to connect a C wire or Nest Power Connector to your thermostat. If there’s a C wire connected to your system’s control board, you can put it in the thermostat’s C connector to check if that helps.
Air Filter Clog Issue
A clogged air filter can cause your system to overheat and automatically shut off. When this happens, your Nest thermostat can’t draw power from your system to charge its battery. Contact a local pro to service your system and check your thermostat wiring. You may also find a Furnace Heads-Up message on the thermostat screen, your app messages, or your monthly Home Report email.
No Power to the R Wire
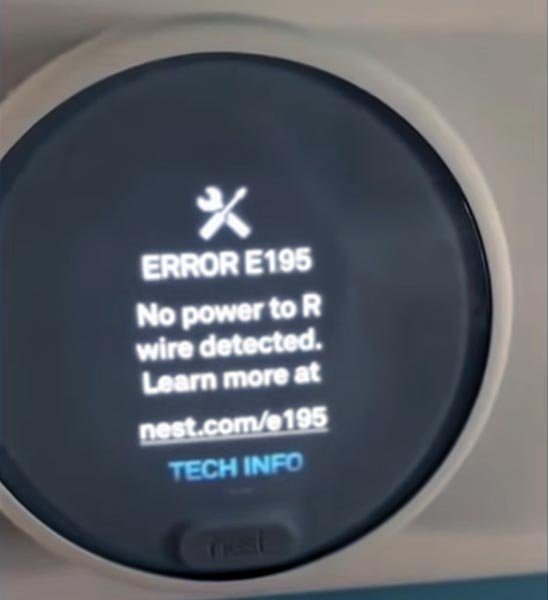
The R-wire is responsible for providing power to the entire HVAC system. Hence, if the wire is damaged or incorrectly installed and there is no power to the Nest thermostat‘s R Wire, it will stop working. This can also lead to low battery. Before you move on to making any conclusions, check if the power to the system is switched on.
You will find the switch in the breaker box or the fuse box. After this, check for any signs of damage on the R-wire. See if it is frayed or broken.
Reset your Thermostat
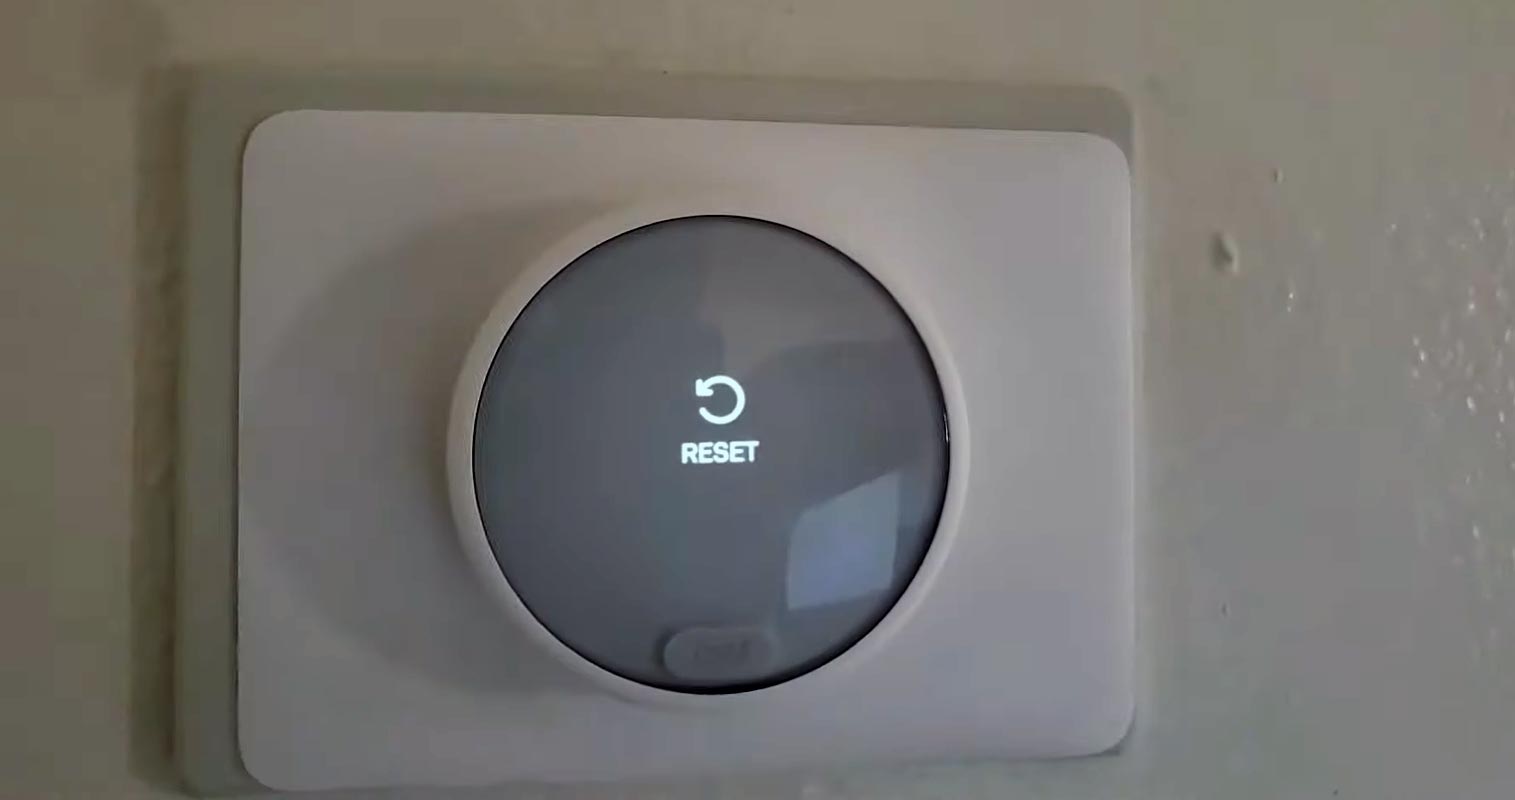
If none of what I’ve suggested works for you, a software issue might prevent your Nest thermostat from charging. The best way to deal with this is to Reset your Nest Thermostat.
Follow these steps to reset your Nest thermostat:
- Go to the main menu.
- Tap on settings.
- Select reset.
- Move to Factory Reset and select the option.
Contact Support
You should contact a local Pro if these steps don’t resolve the problem. An issue may cause a problem with your system.
Frequent Red Light Blinking issue in Thermostat
If you frequently face the blinking red light issue, you can use a standard wire with the thermostat and your HVAC system to ensure a constant flow of power that charges the device. Usually, thermostats come with a spare cable that can be utilized as a standard wire.
All you have to do is look for the C connector and see if there is a wire connected to it or not. If a wire is connected to the terminal, ensure it also goes into the C connector of the HVAC system. However, if the wire is not connected, you must run a new wire between the furnace and the thermostat.
Wrap Up
You can surely fix your Nest Thermostat Red Light Blinking issue by following the above Troubleshoot methods. As I said earlier, After you test all the ways, You can contact the third-party of official Google support. Troubleshoot by ourselves always comes in handy and takes less time to fix the issue. Since Nest Thermostat is a standard device, The official support always takes time to reach you. I hope the above methods will help you at the correct time. If we missed any critical techniques in the guide, Share them in the comments below.

Selva Ganesh is the Chief Editor of this Blog. He is a Computer Science Engineer, An experienced Android Developer, Professional Blogger with 8+ years in the field. He completed courses about Google News Initiative. He runs Android Infotech which offers Problem Solving Articles around the globe.


Leave a Reply