In today’s digital age, ensuring the security of our financial transactions is of utmost importance. With the advent of virtual cards, it has become easier to protect our sensitive information when making online purchases. Google Pay has introduced a new feature that allows users to generate virtual cards linked to their physical cards, providing an extra layer of security and privacy. This article will explore how to create virtual cards using Google Pay and understand their benefits. This section will briefly overview the topic, highlighting the importance of virtual cards in securing online transactions and introducing Google’s virtual card feature.

Understanding Google’s Virtual Card
This section will delve deeper into how Google’s virtual card works, explaining its concept and the variations card issuers offer. We will explore the two approaches to virtual cards, including using a single virtual card number for all purchases with changing CVC/CVV codes and issuing a separate virtual card number for each new merchant.
Creating a Virtual Card on Google Pay
This section will guide users through creating a virtual card on Google Pay. We will outline the availability of this feature, emphasizing its current availability in the United States. Additionally, we will explain the requirement for the physical card to support the virtual card feature. Users will receive step-by-step instructions on turning on a virtual card for their supported card using the Google Pay website or app.
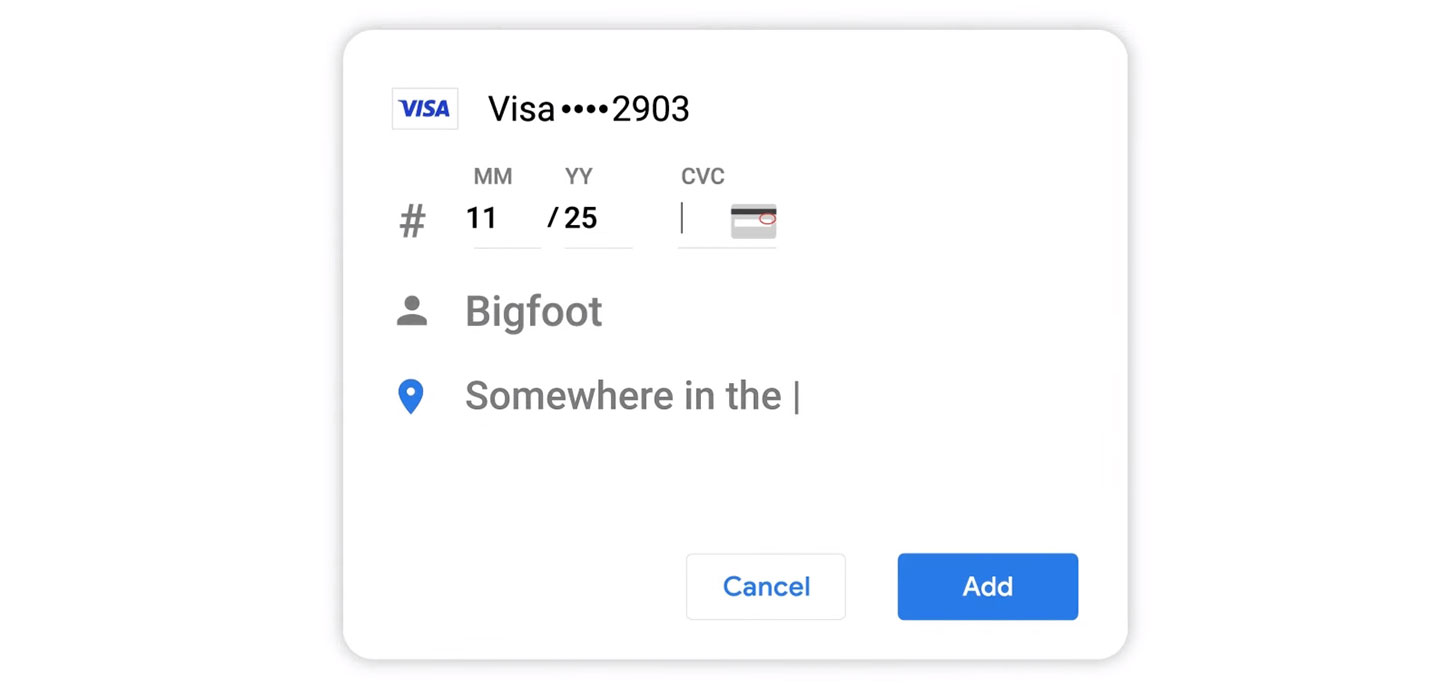
To create a virtual card on Google Pay, follow these steps:

- Open your Chrome web browser and visit the Google Pay website at pay.google.com.
- Locate and click on the “Payment methods” tab at the top of the screen.
- Look for the specific card you want to generate a virtual number.
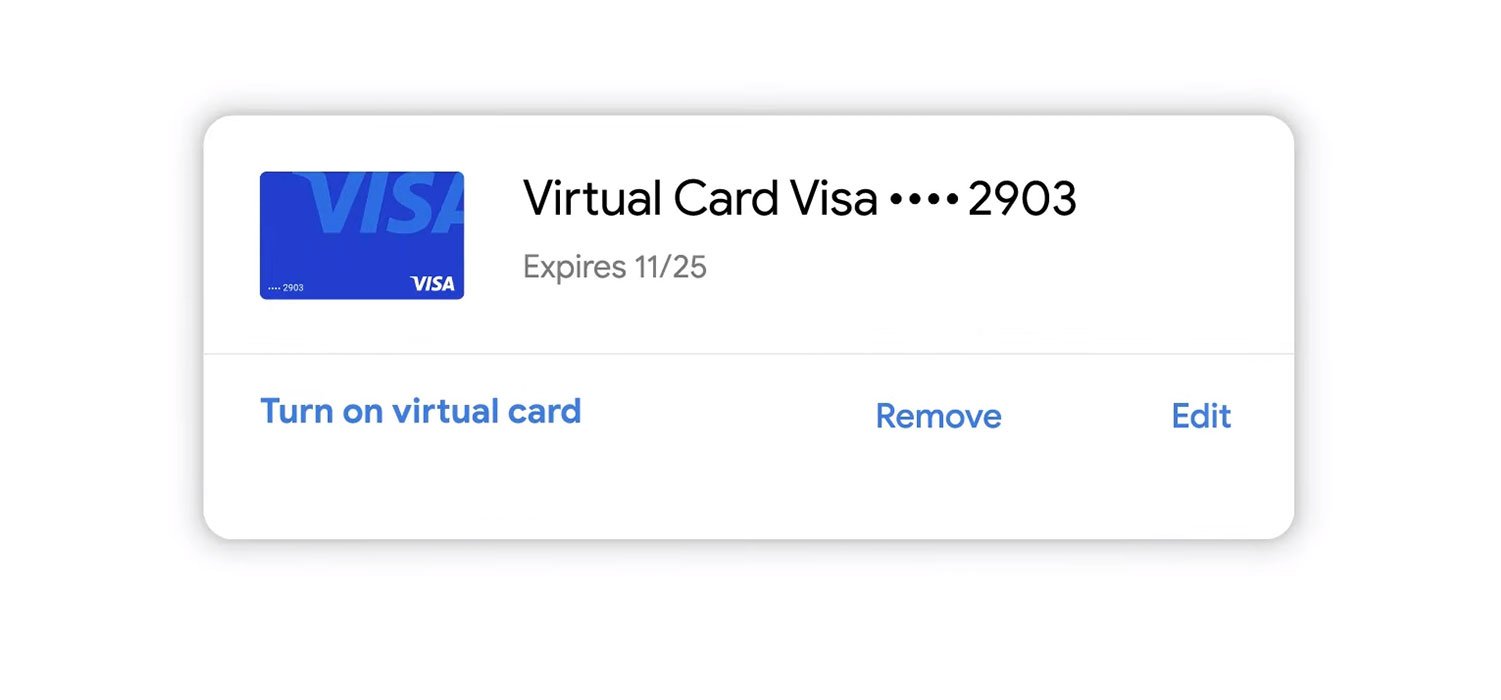
- If the card supports the virtual card feature, you will see an option labeled “Turn on virtual card.” Select this option.
- Click “Turn on” to enable the virtual card feature for the selected card.
- A confirmation message will appear once you’ve turned on the virtual card. Click “Got it” to proceed.
Following these steps, you can create a virtual card for the selected card on Google Pay. Remember, this option is only available if the card supports the virtual card feature.
Checking the Details of a Virtual Card
Once users have successfully created a virtual card, they may want to review its details or manage it further. This section will explain how users can access their virtual card information on the Google Pay website or app. We will guide them through locating the card and provide instructions on managing virtual cards on the issuer’s website.
To view the details of a virtual card on Google Pay, follow these steps:

- Open your web browser and visit pay.google.com or the Google Pay app on your Android device.
- Go to the Payment Methods tab. On Android, tap the hamburger menu icon and select Payment Methods. This will display a list of the cards you have added to Google Pay.
- Locate the specific card for which you want to view the virtual card details.
- Select “Manage virtual card” for the chosen card.
- Choose the option “View and manage virtual cards.” You will be redirected to the issuer’s website, where you can access and manage the virtual card information.
By following these steps, you can easily view and manage the details of your virtual card on Google Pay.
Using a Virtual Card with Google Pay
In this section, we will explore the various scenarios in which users can utilize their virtual cards with Google Pay. We will explain how to make secure online purchases using the virtual card, highlighting its convenience and efficiency. Furthermore, we will discuss using the virtual card for in-app purchases or subscription services, explicitly mentioning platforms like the Google Play Store.
Turning Off a Virtual Card
Users may sometimes wish to deactivate their virtual cards for various reasons. This section will outline turning off a virtual card on Google Pay. We will guide users through the steps on the Google Pay website or app, ensuring they can easily deactivate their virtual card when needed.
To disable or turn off a virtual card on Google Pay, please follow these steps:

- Open your Google Chrome browser and visit pay.google.com or the Google Pay app on your phone.
- Select “Payment methods” from the available options.
- Locate the specific card that you want to turn off.
- Click on “Manage virtual card” for the chosen card.
- At the bottom of the screen, you will find the option “Turn off.” Click on it.
- A confirmation pop-up will appear. Select “Turn off” to confirm the action.
- Once the virtual card is successfully disabled, you will see a message indicating that the card is no longer active. Click “Got it” to acknowledge the message.
These steps will deactivate the virtual card associated with the selected card on Google Pay.
FAQs
To clarify and address common questions, we will include a section of frequently asked questions (FAQs) related to generating virtual cards using Google Pay. These questions will cover eligibility, compatibility, security measures, and troubleshooting.
Who is eligible to use Google’s virtual card feature?
The virtual card feature on Google Pay is available only in the United States. Users residing outside the U.S. may not have access to this feature.
Does my physical card need to support the virtual card feature?
To create a virtual card on Google Pay, your physical card must support the virtual card feature. Not all cards are compatible, so checking if your card is eligible before creating a virtual card is essential.
Can I create multiple virtual cards for different purposes?
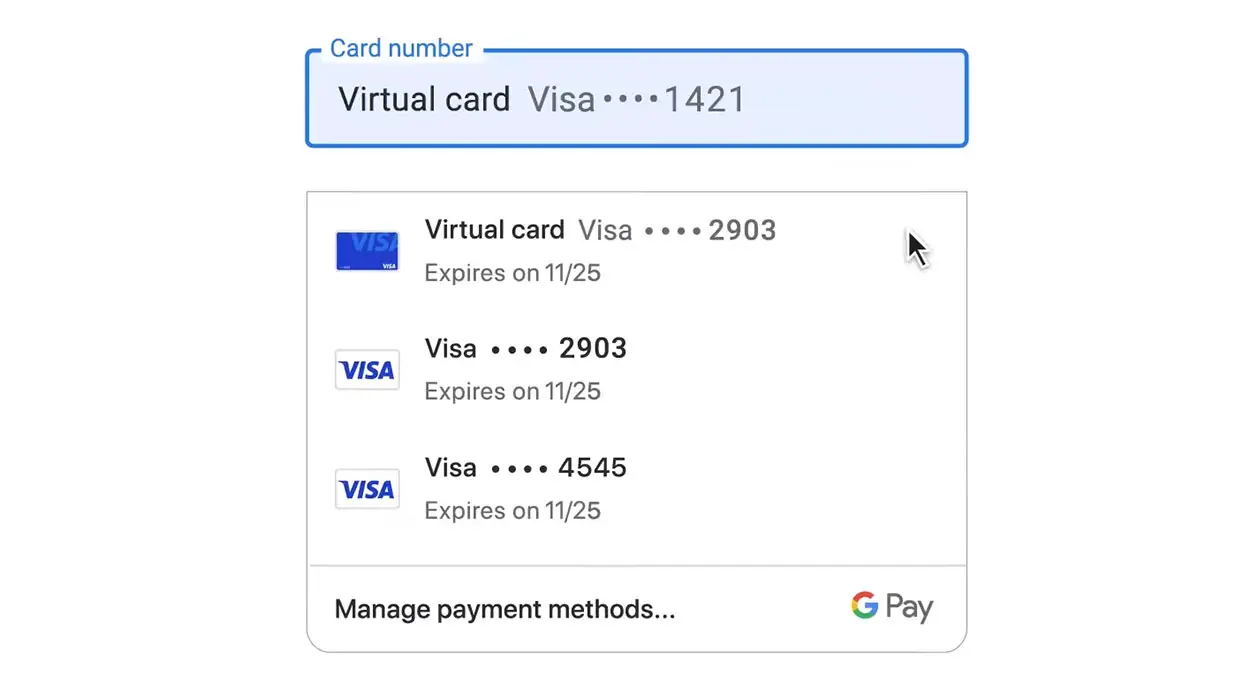
Yes, you can generate multiple virtual cards depending on the card issuer. Some issuers provide a single virtual card number for all purchases but change each merchant’s CVC/CVV code. Other issuers offer separate virtual card numbers for each new merchant you shop with.
How can I view the details of my virtual card?
To view the details of your virtual card, visit pay.google.com on your web browser or open the Google Pay app on your Android device. Go to the Payment Methods tab and locate the card you want to view. Select “Manage virtual card” and “View and manage virtual cards.” You will be redirected to the issuer’s website, where you can access the details of your virtual card.
Can I use a virtual card for in-app purchases?
Yes, you can use your Google Pay virtual card for in-app purchases. Many applications, including the Google Play Store, offer the option to make payments using Google Pay. When making an in-app purchase, select the Google Pay option and use your virtual card to complete the transaction securely.
How can I disable or turn off a virtual card?
You can deactivate a virtual card if you no longer wish to use it. To do this, visit pay.google.com on Google Chrome or open the Google Pay app on your phone. Select “Payment methods,” locate the card you want to disable and choose “Manage virtual card.” Click on “Turn off” at the bottom of the screen, confirm the action and your virtual card will be deactivated.
Wrap Up
This article has provided a comprehensive guide on generating virtual cards using Google Pay. We explored the process step by step, from accessing the Google Pay website or app to navigating the Payment Methods tab and enabling the virtual card feature for a specific card. Users can enjoy enhanced security and privacy when making online purchases by creating virtual cards, as their basic card information is replaced with unique virtual card numbers. We highlighted the convenience of using virtual cards for various transactions, including online and in-app payments.
By reiterating the benefits of virtual cards, such as added security and privacy, we emphasized their significance in safeguarding sensitive information during online transactions. Utilizing virtual cards through Google Pay can provide users with peace of mind and a secure means of conducting financial transactions in the digital landscape.

Selva Ganesh is the Chief Editor of this Blog. He is a Computer Science Engineer, An experienced Android Developer, Professional Blogger with 8+ years in the field. He completed courses about Google News Initiative. He runs Android Infotech which offers Problem Solving Articles around the globe.


Leave a Reply