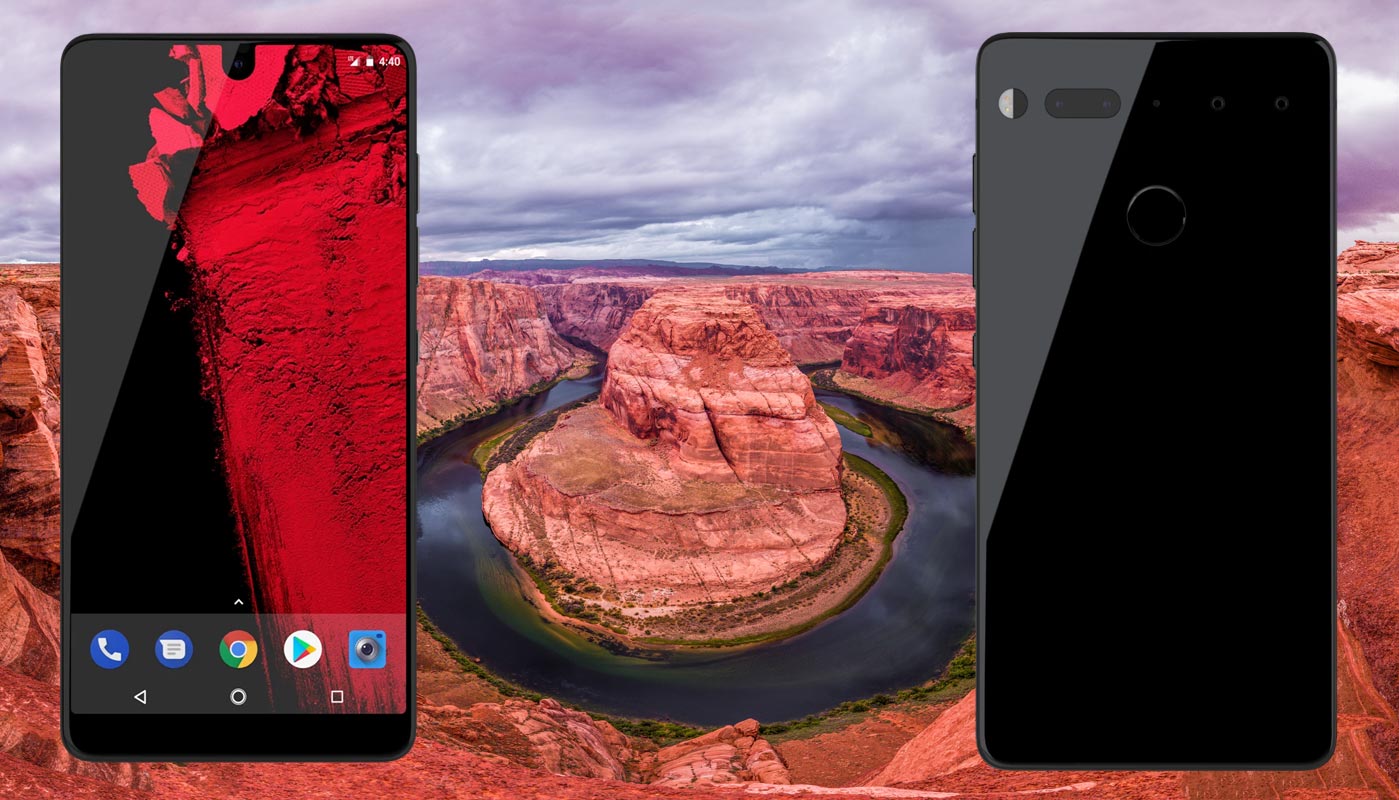
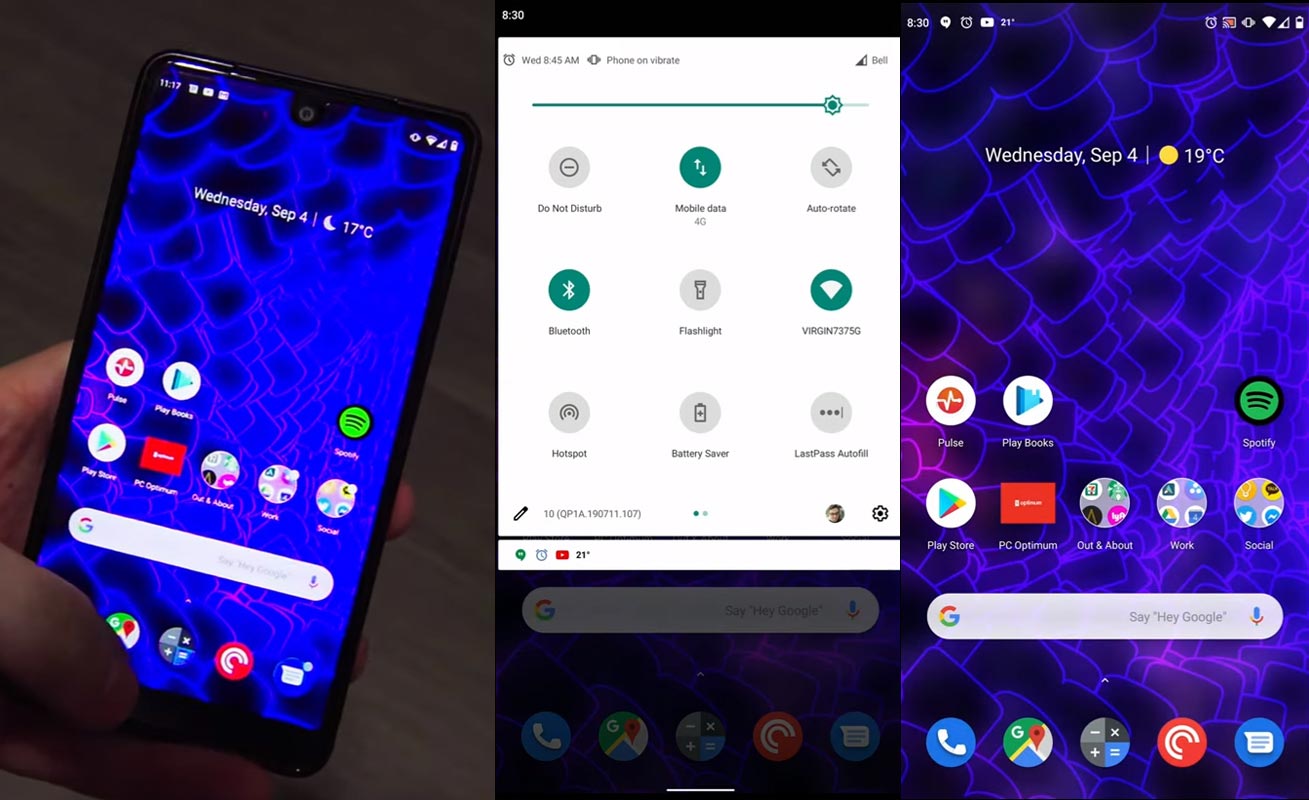
Essential is always best in releasing updates like Google. In this way, they released Android 10 version to Essential PH-1 phone. The following method can be used for both regular and root users. If you are a root user and want to stay in the root, you should move to the TWRP method. Regular users first try using regular OTA method using Mobile Data or Wi-Fi. When this auto method didn’t work, move to Sideload or Fastboot way. Ther are plenty of features that are added in this version, compare with Pie 9.0. Direct security patch updates and Enhanced Privacy measures are some essential features, in my opinion.
Pre-Requirement Steps
You should perform these steps before starting the process.
Run a backup
Always and always, you must run a comprehensive backup of all files, document, and data on the Android device to be worked on. While the action may be done by a professional, if there be any mistake, all data on the device will be lost.
So, to be on the safe side, do run a backup first before continuing.
Charge the device fully
A lot of people will say you should charge the device up to 50% battery percentage or more. We recommend a fully loaded device so that there won’t be any stories.
Download Essential Phone USB drivers, ADB drivers, and ROM
- Yeah, it is essential. You must download and install Essential Phone USB driver on the PC which you’ll be using for this action.
- Download the ADB drivers. Install it in your PC.
- Download Essential PH-1 ROM from below links. Copy this file to ADB Folder. Extract the data in the same folder. If you are already using Stock ROM, Download OTA Build if you are a Custom ROM/ TWRP Recovery user select Fastboot Build.
- QP1A.190711.107 (OTA Build). Rename this file to ota.zip
- QP1A.190711.107 (Fastboot Build). Extract all this file and copy them into ADB/Fastboot Folder, where you installed the driver.
Unlock Bootloader
Bootloader unlock is a necessary step for flashing firmware in your Essential Phone devices. Some International versions can be unlocked quickly by enabling OEM to unlock in Developer settings. But, some US Variant Devices need to be unlocked using Device ID and some fastboot steps. Before everything, Please enable OEM to unlock in settings.
![]()
- Go to settings >>> about >>> Tap on the “Build Number” 7-10 times consistently to enable “Developer Options,” then go to the “Developer Options” and enable USB Debugging Mode and OEM Unlock.
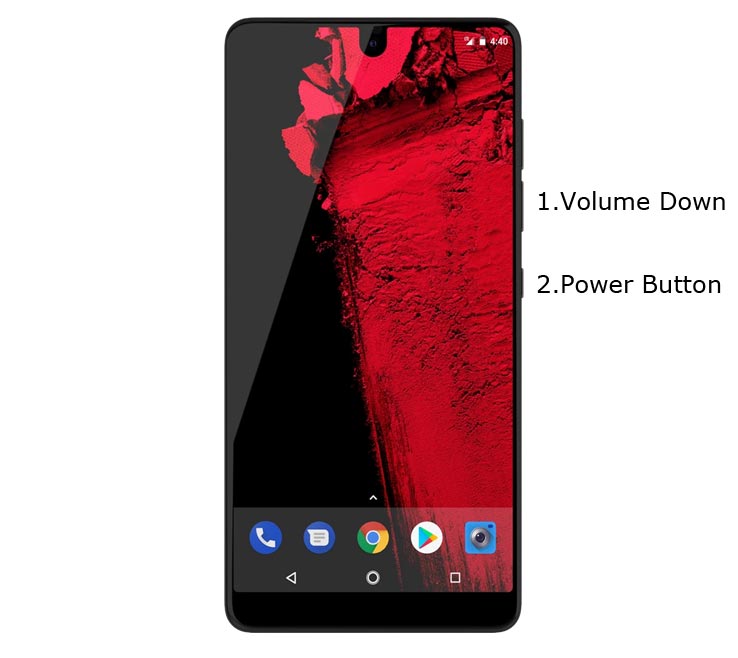
- Switch off your device. Connect your mobile to PC. Then, enter into Download mode. To do this; Press and hold down the Volume Down + Power buttons at the same time for some time. It will boot your mobile into Fastboot mode.
-
Now, connect the Essential PH-1 mobile to the computer via USB cable.
-
Launch the fastboot on your computer. Open a Command prompt on your PC and type below command.
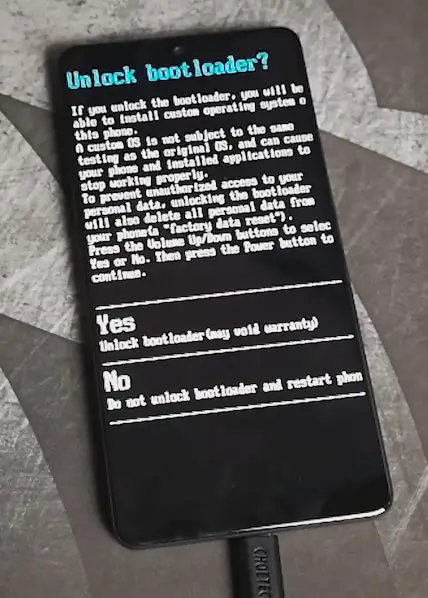
- fastboot flashing unlock
-
Your phone will ask for the Unlock permission Press volume keys to confirm the action.
- After the process completes, your mobile will reboot. You should recheck the OEM Unlock status; Sometimes It may lock again.
Flash Firmware Android 10 in Essential PH-1 devices
Official OTA Method (Using Mobile Data/ Wi-Fi)
If you want to update a security patch to the current month. Don’t go for the manual method. Try this Automatic method.
The process is straightforward and simple;
-
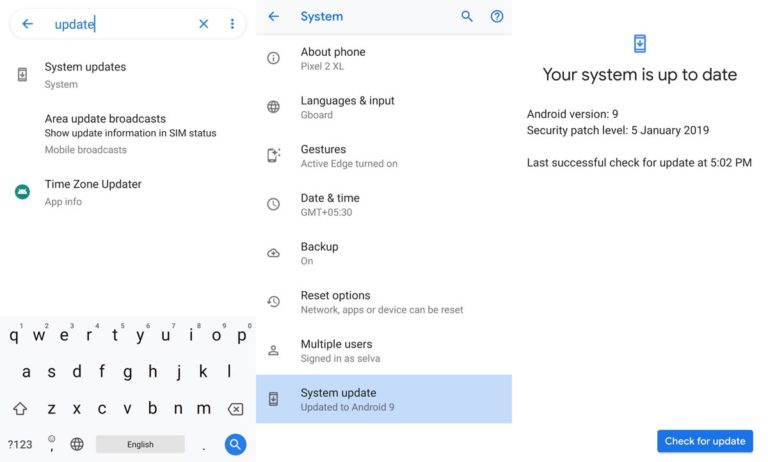
Go to your device setting menu and scroll down to the bottom
-
Tap on “Software Update”
-
You may have to refresh the page to start the OTA upgrade process.
Manual Method
Steps- Regular Users (OTA Sideload Method)
- Switch off your device. Connect your mobile to PC. Then, enter into Fastboot mode. To do this; Press and hold down the Volume Down + Power buttons at the same time for some time. It will boot your mobile into Fastboot mode. Then Press Volume Up+ Power Button to boot into Recovery Mode.
-
Now, connect the Essential PH-1 mobile to the computer via USB cable.
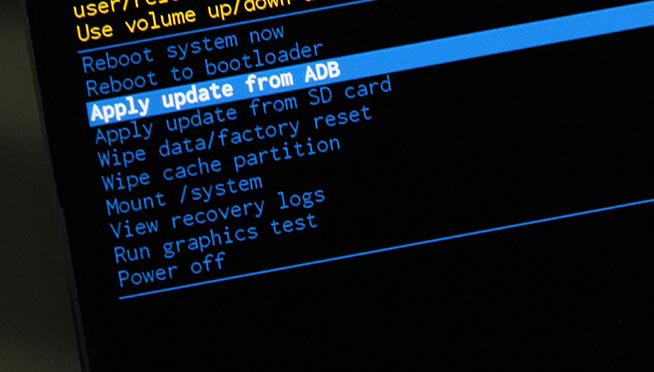
- In Your Mobile stock recovery, select “Apply Update from ADB.”
-
Launch the fastboot on your computer. Open a Command prompt on your PC and type below command.
- fastboot devices
- It should display the connected devices. If you didn’t get the device, restart the command prompt and Disconnect, and Connect your mobile. If you are detected type below commands.
- adb sideload ota_file.zip
- The command will install all the files. When the process complete, It will reboot your mobile. You can lock your Bootloader after this process. If you planned to Root, don’t relock your bootloader.
Steps- Fastboot Method
- When the above method didn’t work for your mobile, Or You accidentally bricked your mobile, you can use this method. This method can be used to remove TWRP Recovery or root access from your mobile. If you want TWRP Recovery on your mobile move to TWRP method.
- Switch off your device. Connect your mobile to PC. Then, enter into Fastboot mode. To do this; Press and hold down the Volume Down + Power buttons at the same time for some time. It will boot your mobile into Fastboot mode.
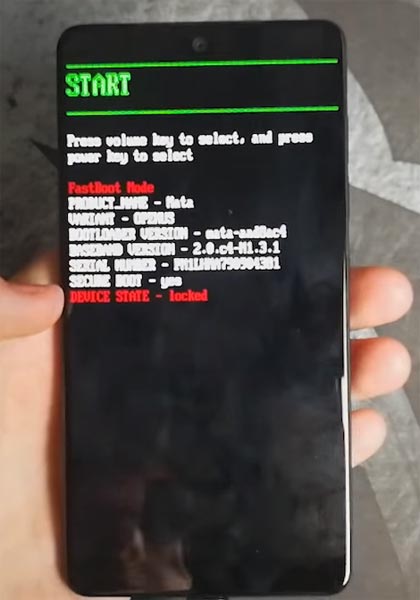
-
Now, connect the Essential PH-1 mobile to the computer via USB cable.
-
Launch the fastboot on your computer. Open a Command prompt on your PC and type below command.
- fastboot devices
- It should display the connected devices. If you didn’t get the device, restart the command prompt and Disconnect, and Connect your mobile. If you are detected type below commands.
-
Click the “flash_all script” file and drag this file into Command prompt and press enter.
- The script will install all files. When the process complete, It will reboot your mobile. You can lock your Bootloader after this process. If you planned to Root, don’t relock your bootloader.
Steps- TWRP Custom recovery Users
- This method is for TWRP users with the Stock ROM, who want to maintain the root access after the upgrade.
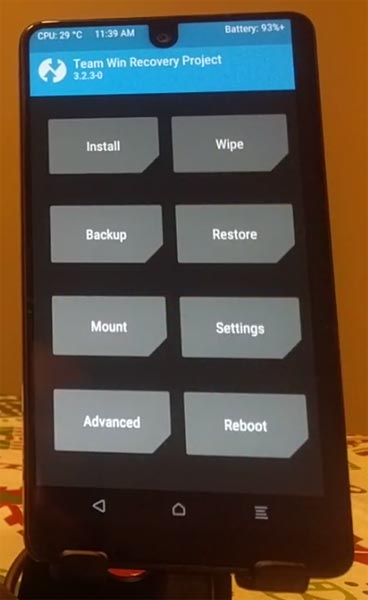
- Download Fastboot firmware from the above Link.
- Download Magisk.Zip (Latest Version), twrp-installer-mata-3.2.3-0.zip, and no-verity-opt-encrypt Copy all the files to Your Pendrive with OTG Cable.
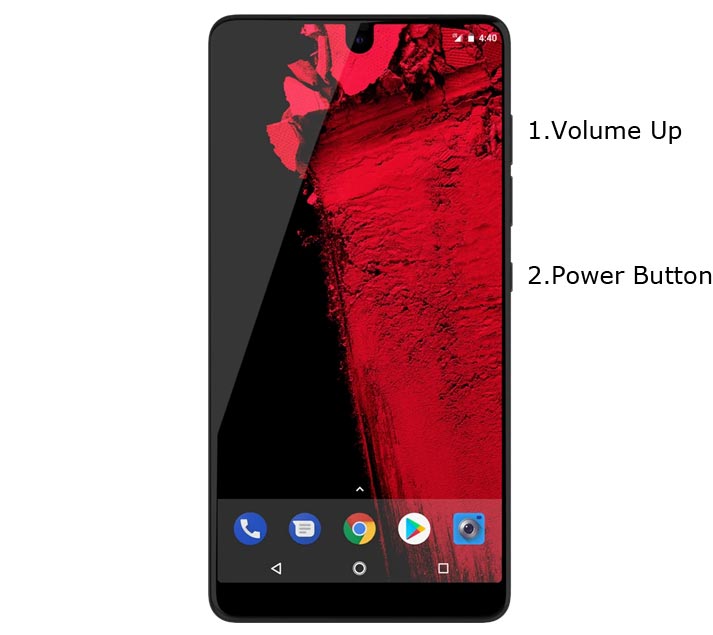
- Switch off your device. Then, enter into Recovery mode. To do this press, hold down the Volume Up + Power button.
- In TWRP, Make a full Backup on Pendrive using OTG Cable.
- These installations should be in One Go. You should never leave TWRP until the final process. In your TWRP, Select Wipe->Advance Wipe->Select Wipe Dalvik / ART Cache, Cache Data.
- Return to Home of TWRP select Install. Select the firmware file.
- Return to Home of TWRP select Install, Select twrp-installer-mata-3.2.3-0.zip. The same way you should install no-verity-opt-encrypt, Magisk.zip. Return to Home and reboot to Bootloader again.
- After the above steps again, Select Wipe->Advance Wipe->Select Cache Data. Flash Magisk still to ensure the Android 10 version will not remove the Magisk. After this process, reboot your mobile.
Check Firmware
Since you have just flashed new firmware to your Essential phone device, you may want to check if the firmware is actually what you installed. Follow the step below to check your device firmware version.
You can check the firmware details >>> settings >>> about >>> version.
Essential PH-1 Android 10 Features
There are plenty of features added in the 10 version, compare with the Pie version. Here I mentioned some important features.
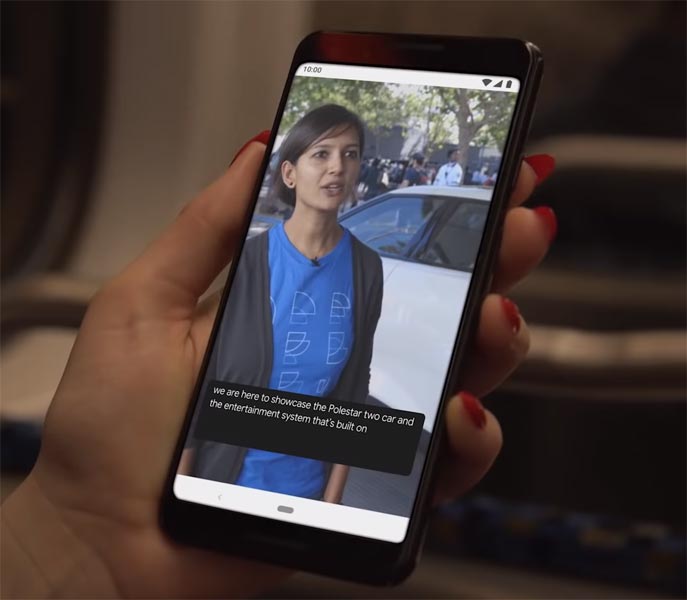
Live Caption
-
You know this already, If you turn on Subtitles in the Youtube, It will auto-generate the captions. The Same functionality can be work on all over your device videos. It Doesn’t require Wi-Fi/ Data.
-
Languages are limited as per Google Data.
Smart Reply

-
It is already available in Pie version. But it is limited. Now you can explore more actions when you get the messages. You can Open Links, Open Apps based on the messages.
Sound Amplifier
-
We always do this using Third-party apps. Now we can adjust the Volume and Tune, Equalize using the in-built feature. You can do a lot of things like Reduce noise, Enhance the Tune like that.
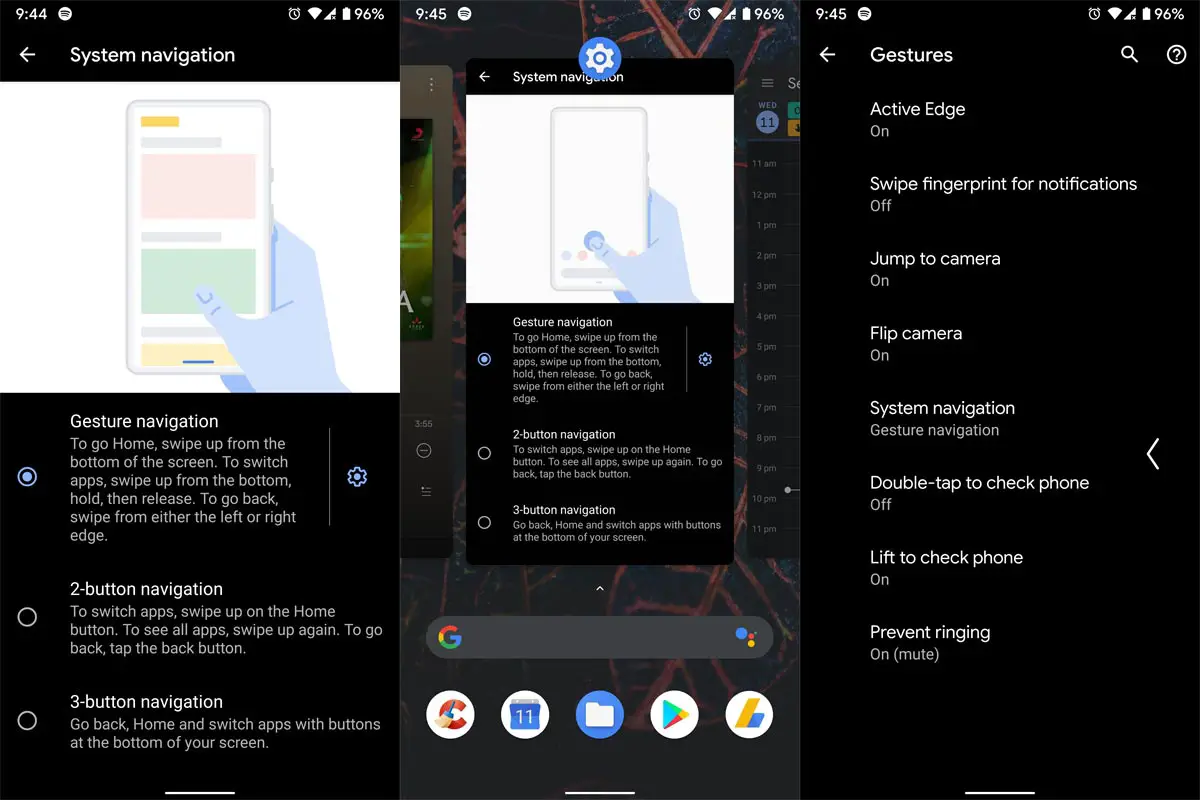
Enhanced Gesture Navigation
-
The True Gesture Navigation has finally arrived. It may not be best compare with OnePlus devices, But It is way better than the Pie 9.0 version. If you swipe From Left to Right, It goes forward. Right to Left goes Backward. Home button work as usual. Recently used apps can be accessed By Swiping Quarter Screen to the Top. Simple Navigations to avoid confusion.
Dark Mode
-
It is not like Night Mode. It didn’t add a filter in the Display. If you have OLED Display, It will surely save your battery power from 5-30% based on your usage.
Privacy
-
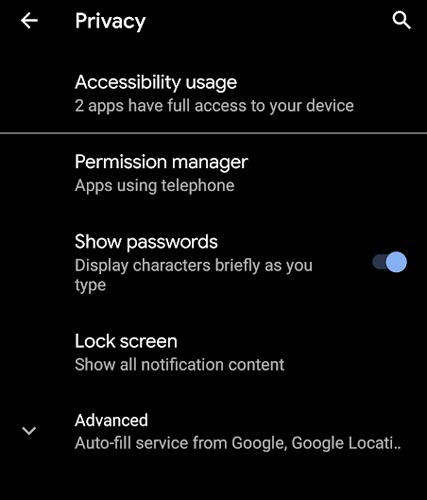
Google always added enhanced Privacy features in every Android version. In 10th version, You can handle your Privacy lot better. It will always tell you when your installed apps access your location in the Background. So, that you can manage whether you need that permission on Always or During the app usage.
Direct System Updates
-
Unlike regular OTA updates from your Manufacturers, the regular patch updates will be handled by Google After you updated to Android 10 version. It can be done using your Google Play App. If you have Custom Skin OS from your Manufacturer, Google will not change the UI. They will handle only Patch updates. This is one of the most critical steps taken from their side. It will help all the users, who are tired of their Manufacturer Late updates.
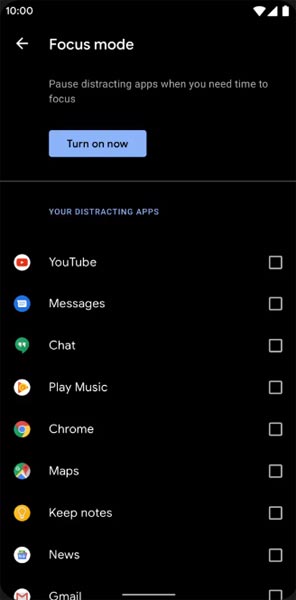
Focus Mode
-
It can be an additional function of Digital Wellbeing. Now you can Pause some apps to avoid the Notifications For short time or Long time. Some mobiles are made based on this scenario. To avoid distractions and get focused on what you are doing. Think you are Studying and Single Whatsapp message can redirect you. With the help of this feature, you can use only Study apps during your Study time.
Family Link
-
It is like Parental Control. You can control the App Timings within your Added Google Accounts.
Other improvements and changes
- HEIF Image, Monochrome Camera Support.
- New Set of Emoji.
- Enhanced Adaptive Battery Improvements compare with Pie version.
- Contaminant Detection- If any moistures are in your USB Ports, your mobile will alert you.
Final Words
This is it. Using the above three methods, you can Install your firmware in your Essential PH-1 in both Regular and Root stage. TWRP process may require additional flashing steps and files. As a Root user, you are already familiar with these steps. We should flash encryption.zip files to avoid encryption issues. Some USA Devices doesn’t support Bootloader unlock function, for those devices you can try with Critical Unlock Bootloader method. If you face any problem comment below. We will figure out what we can do.

Selva Ganesh is the Chief Editor of this Blog. He is a Computer Science Engineer, An experienced Android Developer, Professional Blogger with 8+ years in the field. He completed courses about Google News Initiative. He runs Android Infotech which offers Problem Solving Articles around the globe.


Leave a Reply