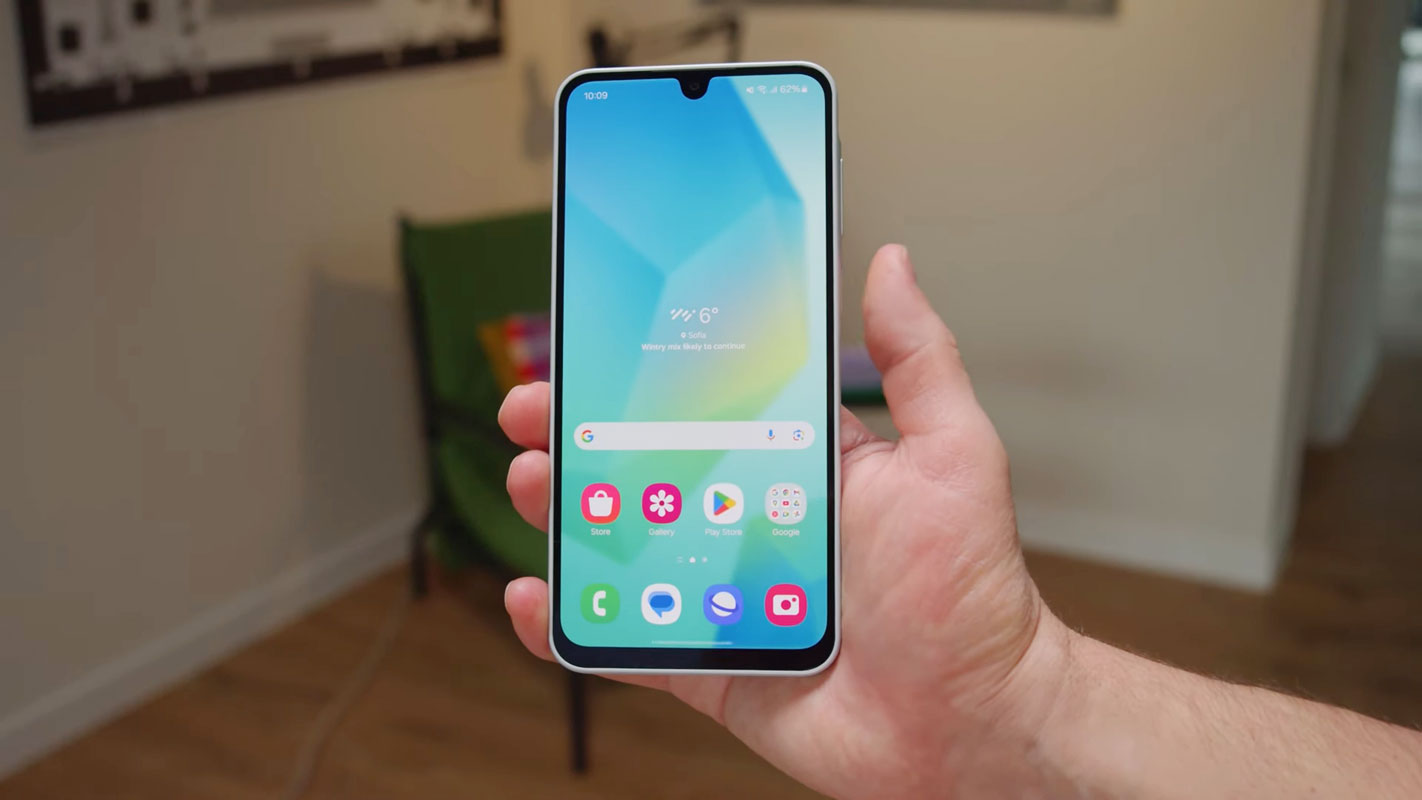
If you are experiencing issues with the touchscreen on your Samsung Galaxy A16 4G/5G, such as unresponsiveness or erratic behavior, checking its functionality is crucial to identify and resolve the problem. Samsung devices offer a built-in diagnostic tool that allows users to test various hardware components, including the touchscreen. This feature can help pinpoint whether the issue lies with the screen or other software conflicts. You can access this diagnostic mode using a specific code or navigating settings. Additionally, cleaning the screen and ensuring no screen protectors are causing interference can help. This guide will walk you through simple and effective methods to test and troubleshoot the touchscreen on your Samsung Galaxy A16, ensuring a smooth and responsive experience.

Why is Testing Your Touch Screen in Samsung Galaxy A16 4G/5G Important?
The touch screen is the heart of any smartphone’s usability. Whether swiping through apps, typing messages, or playing games, you rely on the touch screen to function perfectly. Here’s why testing the touchscreen is essential:
- Detect Hardware Issues: Ensures that all screen areas respond accurately to touch.
- Optimize Performance: Identifies sensitivity or lag issues that could affect your user experience.
- Proactive Maintenance: Early detection of issues can prevent further damage or costly repairs.
- Software Compatibility: Confirms that recent updates haven’t impacted touch functionality.
Steps to Perform a Hardware Test on Samsung Galaxy A16 4G/5G
Samsung devices have a built-in diagnostic tool that makes it easy to perform hardware tests, including touchscreen checks. Below is a step-by-step guide:

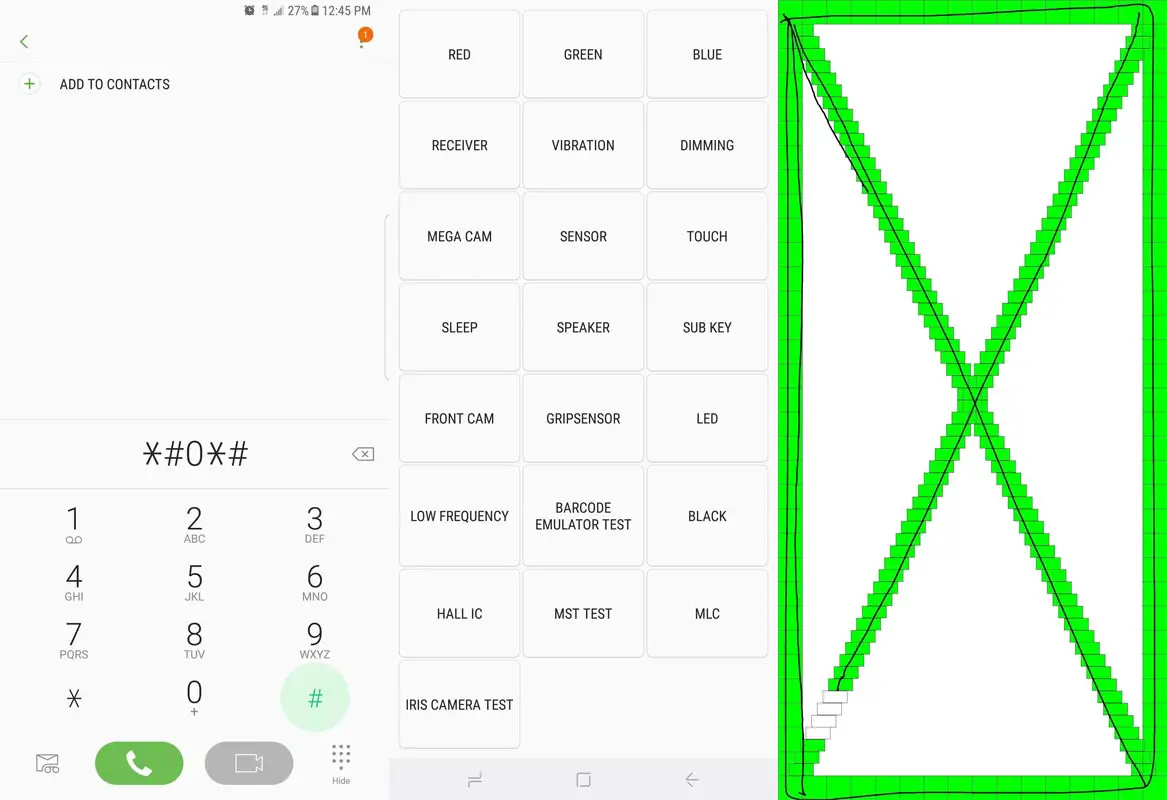
Step 1: Access the Phone Dialer
- Unlock your Samsung Galaxy A16 4G/5G.
- From the Home Screen, tap the Phone icon to open the dialer.
Step 2: Enter the Diagnostic Code
- Using the keypad, dial
*#0*#. - The diagnostic Mode will launch automatically, displaying a multiple-choice test page.
Step 3: Select the Touch Test
- On the test page, locate and tap the Touch button. This option is specifically designed to evaluate the touchscreen functionality.
Step 4: Perform the Grid Test
- A grid of small boxes will appear on your screen.
- Slide your finger across the grid, covering all areas of the screen.
- As you touch each box, it will turn green, indicating the touch has been detected.
- Ensure that every box on the grid turns green. If any box remains unresponsive, it indicates an issue with that section of the screen.
Step 5: Complete the Test
- Once all the grid boxes turn green, the touch test is complete.
- The device will automatically return to the diagnostic menu, confirming that the touch screen has passed the test.
Standard Touch Screen Issues and Troubleshooting Tips
If your touch screen doesn’t pass the test or you notice issues during daily use, consider the following troubleshooting tips:
1. Unresponsive Areas
Cause:
- Physical damage to the screen.
- Dirt or debris interfering with touch detection.
Solution:
- Clean the screen gently using a microfiber cloth.
- Restart your device to refresh the system.
- If the issue persists, consult a professional for repairs.
2. Delayed or Lagging Response
Cause:
- Excessive background apps.
- Outdated software.
Solution:
- Close unnecessary apps running in the background.
- Update your device to the latest software version.
3. Ghost Touches
Cause:
- Faulty screen protector.
- Internal hardware malfunction.
Solution:
- Remove and replace the screen protector.
- Perform a factory reset after backing up your data.
Additional Methods to Check Touch Screen Functionality
Apart from the built-in diagnostic tool, here are other ways to test your touch screen:
Use Third-Party Apps
- Several apps on the Google Play Store can test your touch screen’s responsiveness and accuracy.
- Popular options include Touch Screen Test and MultiTouch Tester.
Enable Safe Mode
- Safe Mode turns off third-party apps, allowing you to test the touch screen without interference.
- To enable Safe Mode:
- Press and hold the Power Button until the power options appear.
- Long-press the Power Off option until the Safe Mode prompt appears.
- Tap OK to reboot in Safe Mode.
Check for System Updates
- Go to Settings > Software Update > Download and Install.
- Ensure your device runs the latest firmware, which may resolve touch-related issues.
When to Seek Professional Help
If the above methods don’t resolve the problem, it’s time to consult a professional. Visit an authorized Samsung service center to:
- Replace damaged screens.
- Address internal hardware failures.
- Perform advanced diagnostics.
Preventing Touch Screen Issues in the Future
Follow these tips to maintain your Samsung Galaxy A16 4G/5G’s touch screen:
- Use a high-quality screen protector to shield against scratches.
- Avoid exposing your device to extreme temperatures.
- Clean the screen regularly to prevent the buildup of dirt and oil.
- Handle the device carefully to minimize the risk of accidental damage.
Wrap Up
Performing a touchscreen test on your Samsung Galaxy A16 4G/5G is a straightforward process that ensures optimal device performance. Using the built-in diagnostic tool, you can quickly identify and address any touch-related issues. Regular maintenance and timely troubleshooting can help you enjoy a seamless user experience. If problems persist, don’t hesitate to seek professional assistance. With these steps, you can keep your device functioning at its best and extend its lifespan.

Selva Ganesh is the Chief Editor of this Blog. He is a Computer Science Engineer, An experienced Android Developer, Professional Blogger with 8+ years in the field. He completed courses about Google News Initiative. He runs Android Infotech which offers Problem Solving Articles around the globe.


Leave a Reply